
Hello Everyone,
It is Zsofi here, I hope you had a wonderful Christmas. After the holidays it is time to send out some thank you cards. I brought you a quick and simple idea which is easy to mass produce.
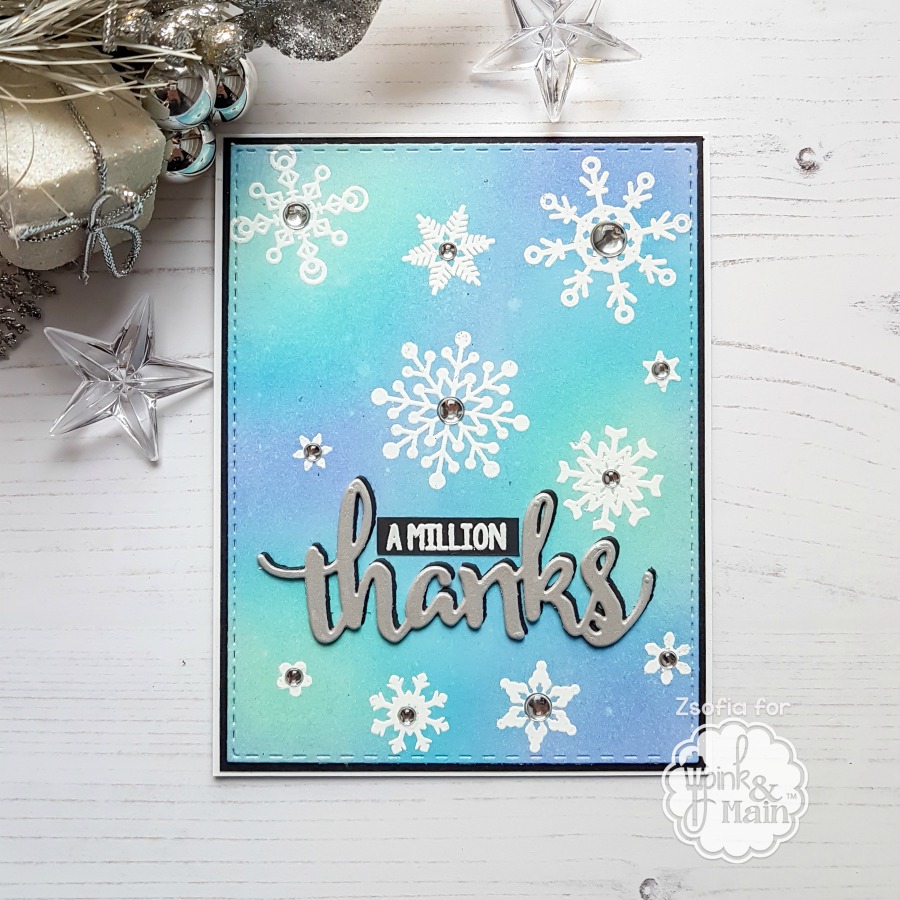
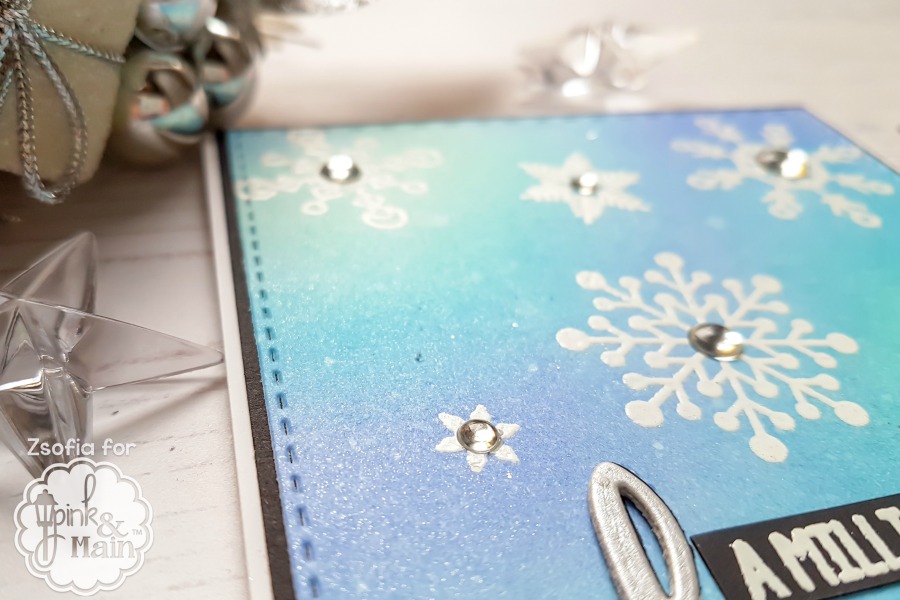
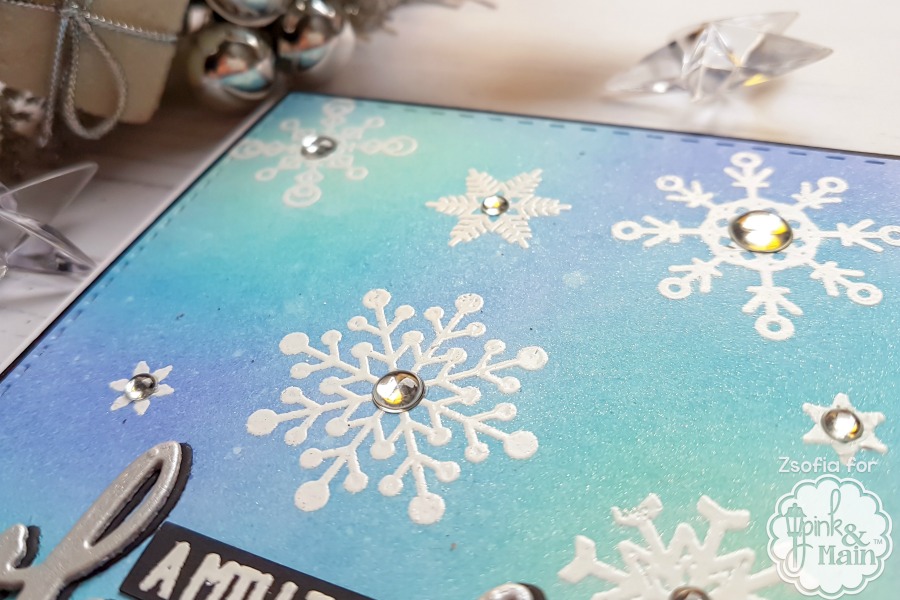
I started with arranging all the snowflakes from the Flurries stamp set in my stamp positioner to cover an A2 sized card front. I stamped them with Versamark ink on Bristol Smooth cardstock and heat embossed with white embossing powder. Then I sponged distress inks all over the panel: Cracked Pistachio, Mermaid Lagoon and Blueprint Sketch. When it was done, I spritzed it with Tsukineko Shimmer spritz for a subtle shimmery shine.
When it was dry, I used the largest Stitched Rectangle from Set 2 to cut down the inked background, matted it with black cardstock and adhered it to a white card base.
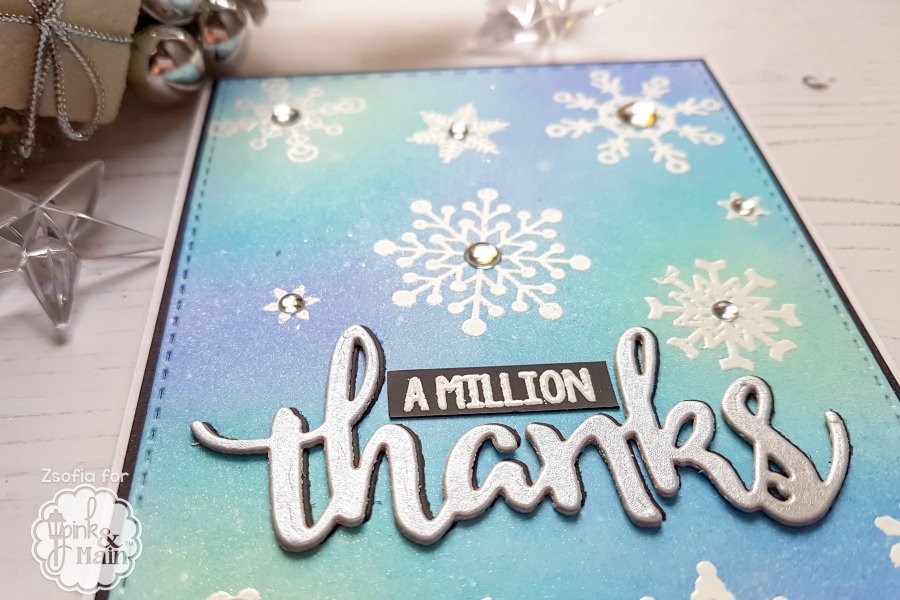
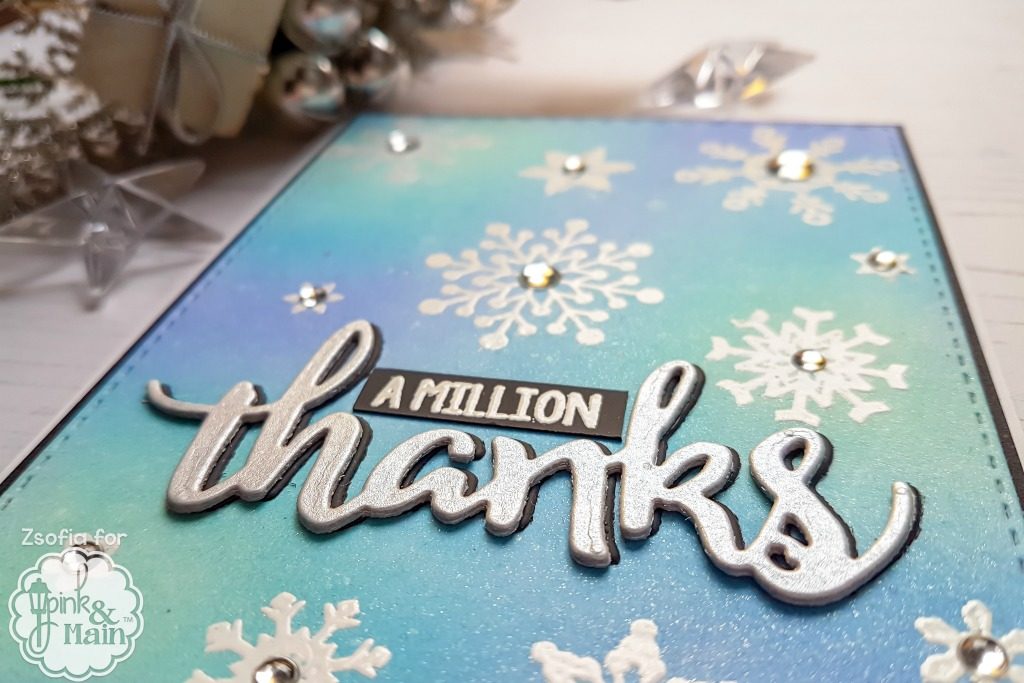
The sentiment is a die cut Thanks, cut 3 times from silver cardstock and once from black, layered on top of each other (the black one tiny off-set to create a shadow). I also white heat embossed the rest of the sentiment from the Thanks to you stamp set on a thin strip of black cardstock and adhered it above the die cut word.
As a finishing touch, I added Glossy dots in different sizes in the middle of each snowflake. It makes it so festive!
I hope you enjoyed today’s inspiration. I am wishing you all the best for the new year! See you in 2019!
Zsofi