
Hi everyone… It’s Samantha back on the Pink and Main Blog today and so happy to share a super cute card featuring the new Spill the Tea stamp set.
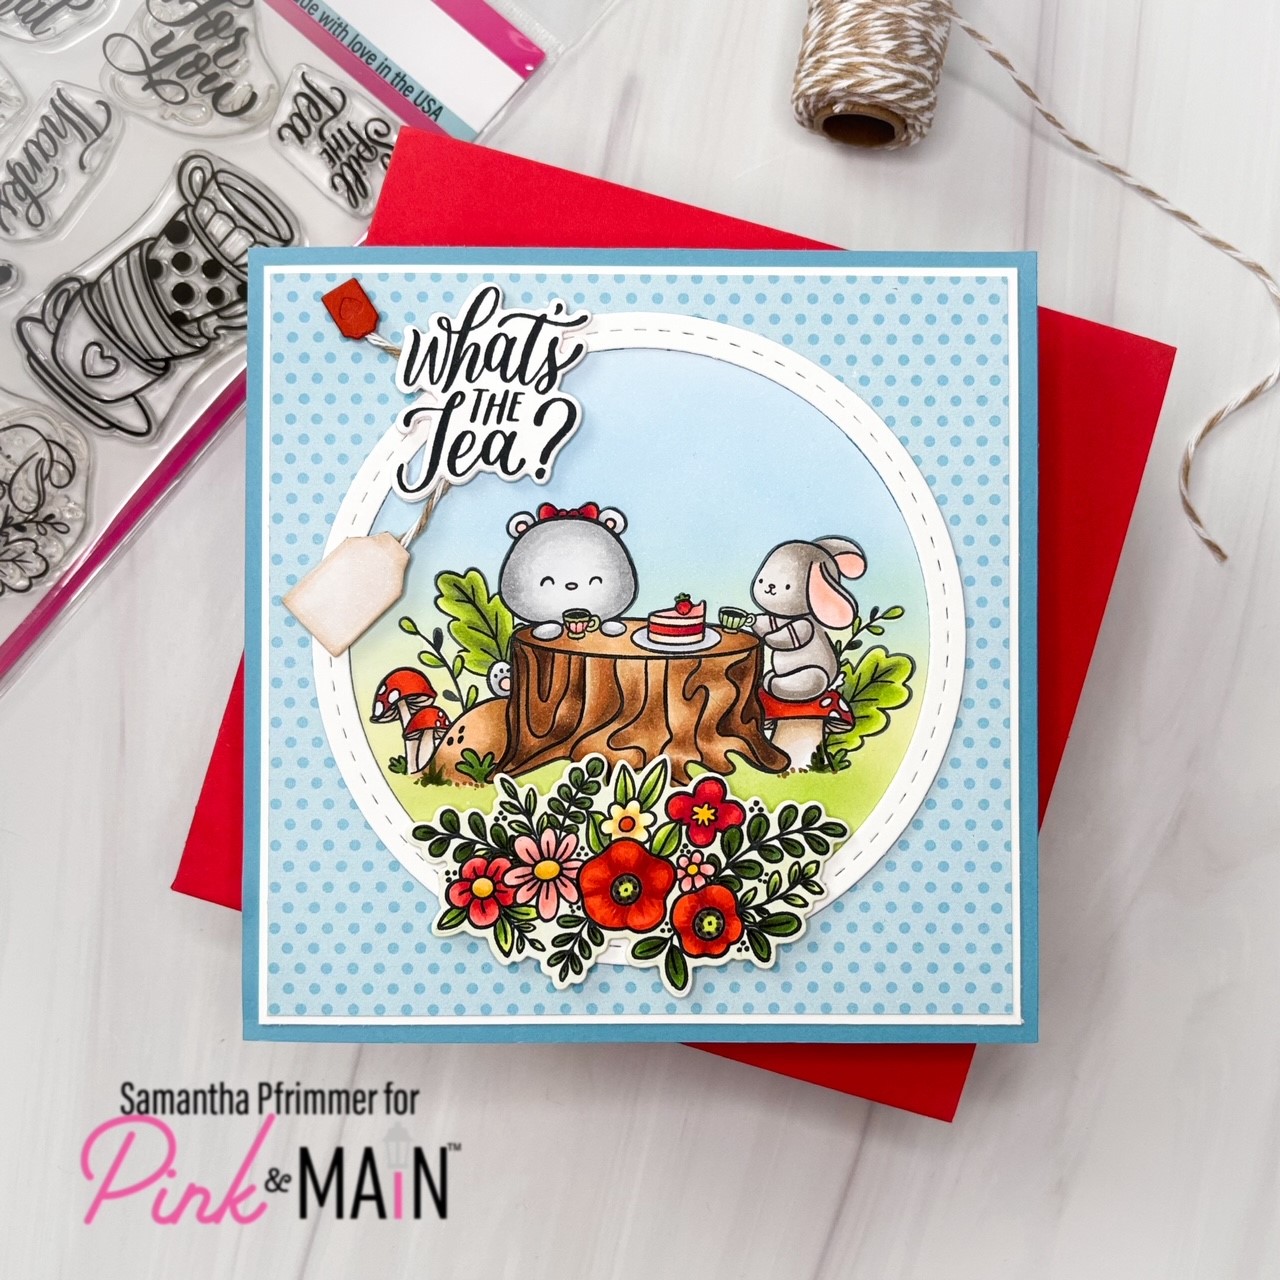
I just fell in love with the main image of this adorable stamp set and, as it is a larger image, I decided it was best to feature it on a 5.5″ x 5.5″ square card.
*A little tip… never be afraid to change up your card size or shape. I love a slimline, a square card, a 5″x7″… They can all be so fun to work with and changing up your size helps keep your crafting fresh.
To start, I stamped my main image onto Copic X-Press it paper and colored it with Copic markers. Next, I stamped the image onto masking paper, fussy cut my mask, and then applied it to the stamped image. Using Tumbled Glass and Mowed Lawn Distress Oxide inks, I ink-blended around my image to create the look of sky and grass.
Next it was time to frame my main image. To start, I grabbed the Stitched Circle Frames Die and cut a few frames from white cardstock to stack up and glue together for dimension. Next, I grabbed a sheet of blue polka dot from the You’re a Blessing 6×6 Paper Pack and a some matching blue cardstock to use for a mat. Listed below are my dimensions:
Dark Blue Mat – 5 1/2″ x 5 1/2″
White Inner Mat – 5 1/4″ x 5 1/4″
Polka Dot Card Panel – 5 1/8″ x 5 1/8″
Once I assembled my card as shown, first cutting my stamped image down to fit inside the stitched circle, I next pulled out my Bloom with Joy stamp set and stamped out the larger floral image, on Xpress It paper, colored it, and then cut it out with the Bloom with Joy die set. I then adhered my die-cut floral image to the base of my circle with thick foam tape to fill out the scene.
To finish everything off, I stamped the What’s the Tea sentiment from the stamp set and die cut it with the Spill the Tea die set. I decided I needed just a little extra so I also pulled out the new Tea Party die set and cut the cutest tea bag out of cardstock. I added a little Copic marker to the base of the tea bag and used some of the new Brownstone Twine to attach the two pieces. My card is complete and I just love how it turned out.
Thank you so much for reading!