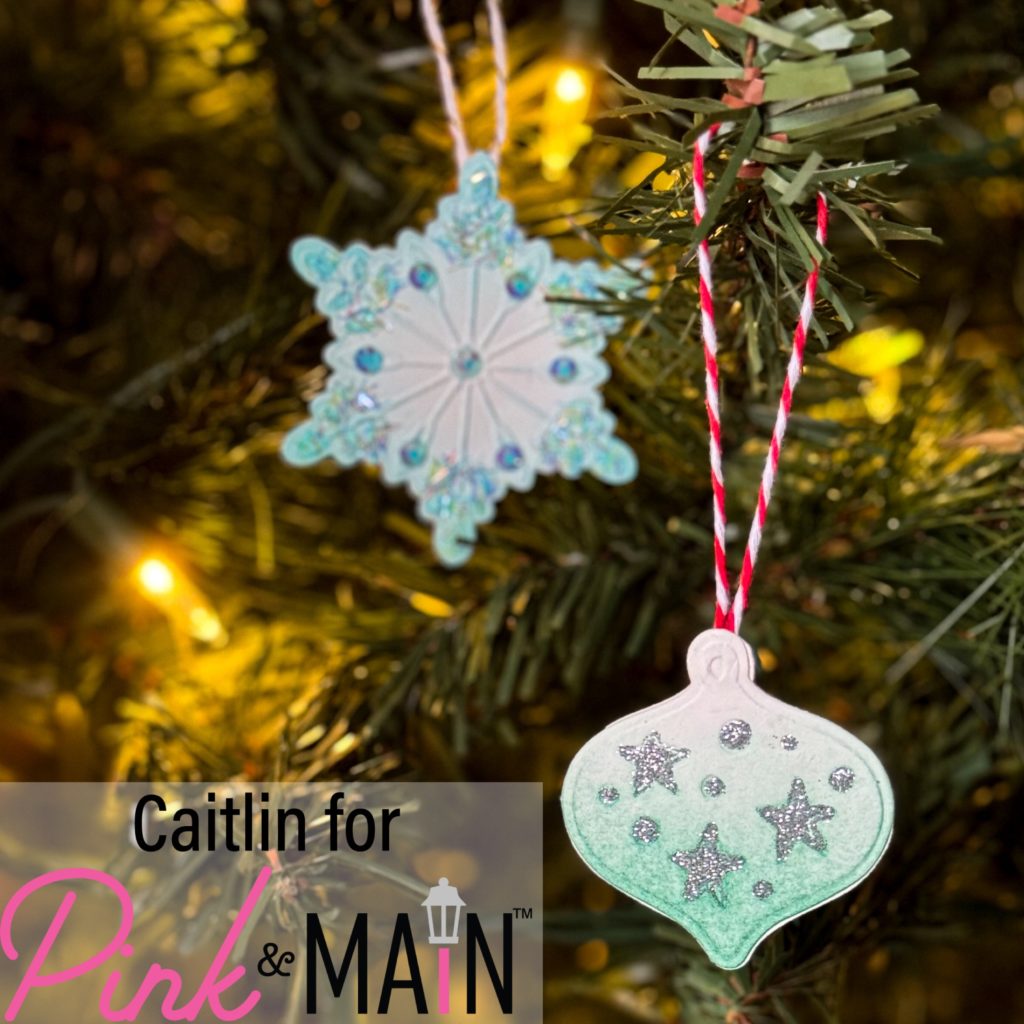
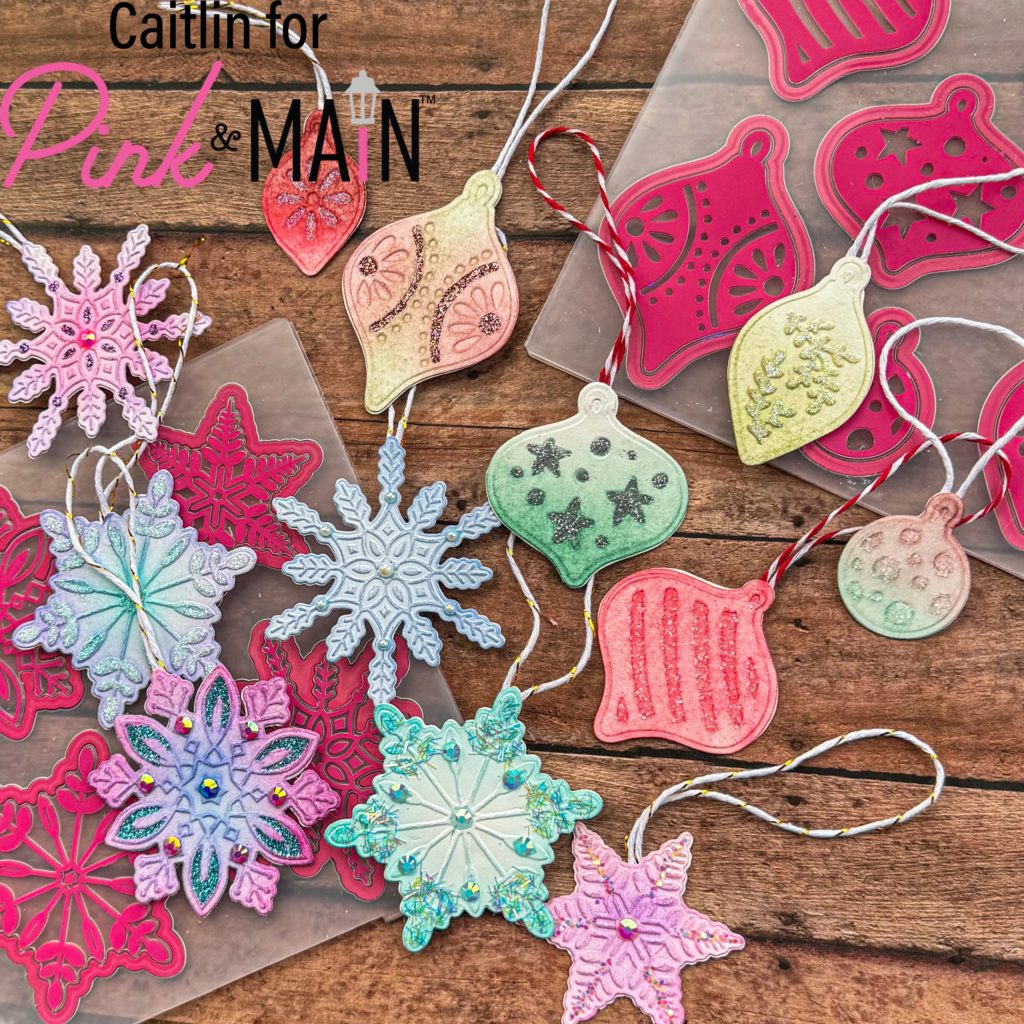
Hi friends, this is Caitlin and today I am sharing some fun ornaments that I made using two of the new Emboss and Cut Folders. I made the snowflake versions live with Pink and Main and had so much fun with them that I wanted to make some more to share here with the Ornament folder. I love this project as a way to create without having a plan and it is definitely a project you would do with crafty friends or even kids.

I started out the process by die cutting white heavy weight card stock with the Ornament Emboss and Cut Folder twice so that there were two of every shape. You could definitely use colored card stock for this instead but I wanted to ink blend them so I stuck with white. For the snowflake versions I ink blended with Dress Shop, Night Sky, Barbershop, and Lakeside Ink and for the ornament ones I used Distress Inks (Candied Apple, Aged Mahogany, Pine Needles and Bundled Sage). I really had a lot of fun with making different color combos and if you want to make the whole process really easy, pick some analogous colors (ones that are next to each other in the rainbow) so that they blend easier, with less chance of ending up with muddy colors.

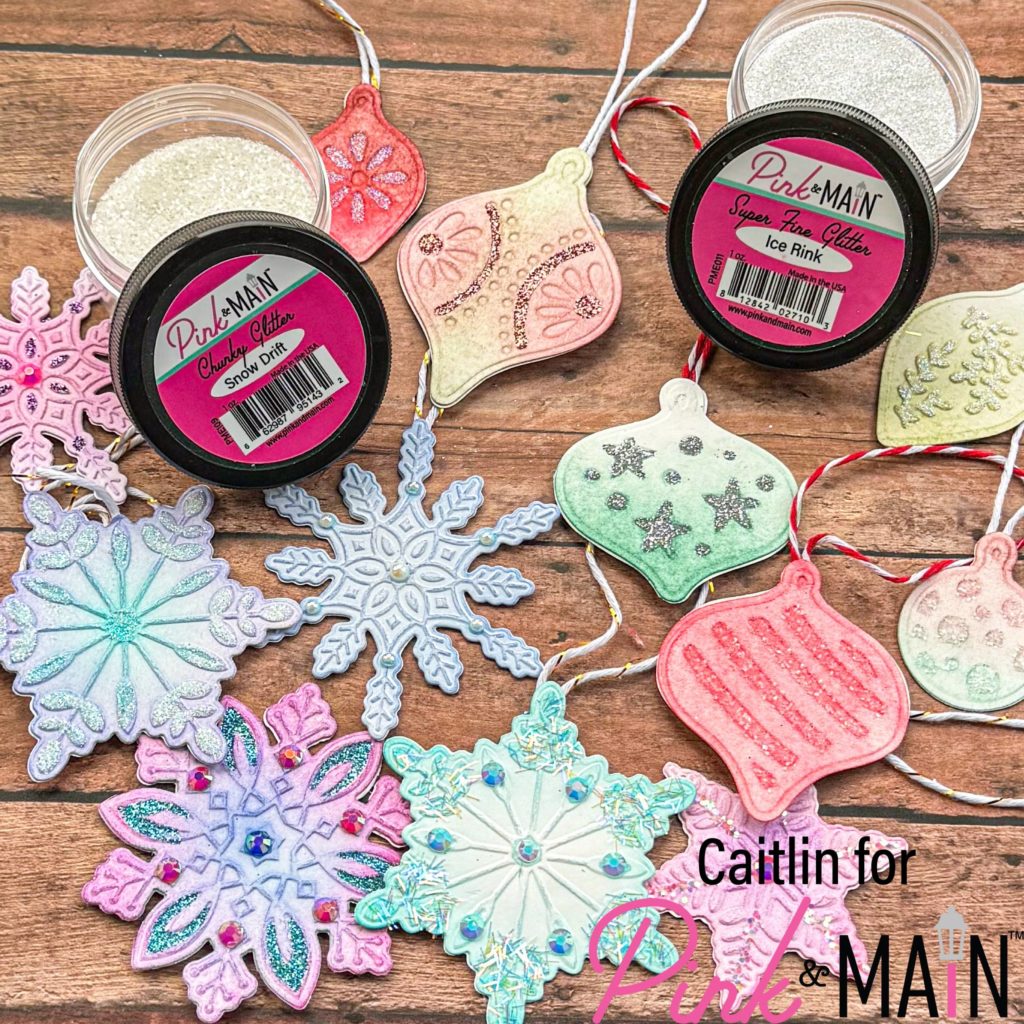
Once the colors were taken care of, I added some folded twine to the back of one layer with glue and washi tape (just for extra security) and added the other layer, sandwiching the twine inside. I let these dry for a few minutes but by the time I finished the the last one, the first one I had glued was ready to be decorated. I used different glitters with the EZ Squeeze glue or the Quickie Glue Pen depending on the size of where I was adding it. I think the Super Fine Glitters (Ice Rink, Ocean Wave, Orchid) are the best for smaller details like the branches and small circles and I played with some of the new Chunky Glitters (Stardust, Tinsel Town, Snow Drift) for the larger areas where they don’t obstruct any shapes. If any of the glitter sticks to the paper where there isn’t glue, just let the piece dry for a few minutes and then you can use a soft dry brush to dust away any excess back into the jar. This can happen from the wet ink on the paper and doesn’t mean you did anything wrong.
I also added some gems and pearls too for some extra shine but you can decide what level of extra you want to reach lol. I love how easy these were to make and you could use so many different shapes to do this but I will tell you that the snowflakes were slightly easier to work with because they are perfectly symmetrical so they were perfectly lined up when back to back. I think these would also be fun to add to a present as a decorative tag that people could use for an ornament after.

