This post uses affiliate links to products I love at no additional cost to you! By clicking the links in this post, I earn a small commission should you make a purchase. Thank you in advance!
Hello friends! Justin here, and today I am sharing a Sneak Peek of 3 brand new items from our upcoming June Release, being used alongside the Top Dog June Stamp of the Month! As you can see, there is a lot of pet-fun going on with these new products, and it’s going to really warm the hearts of all you furry-friend lovers!
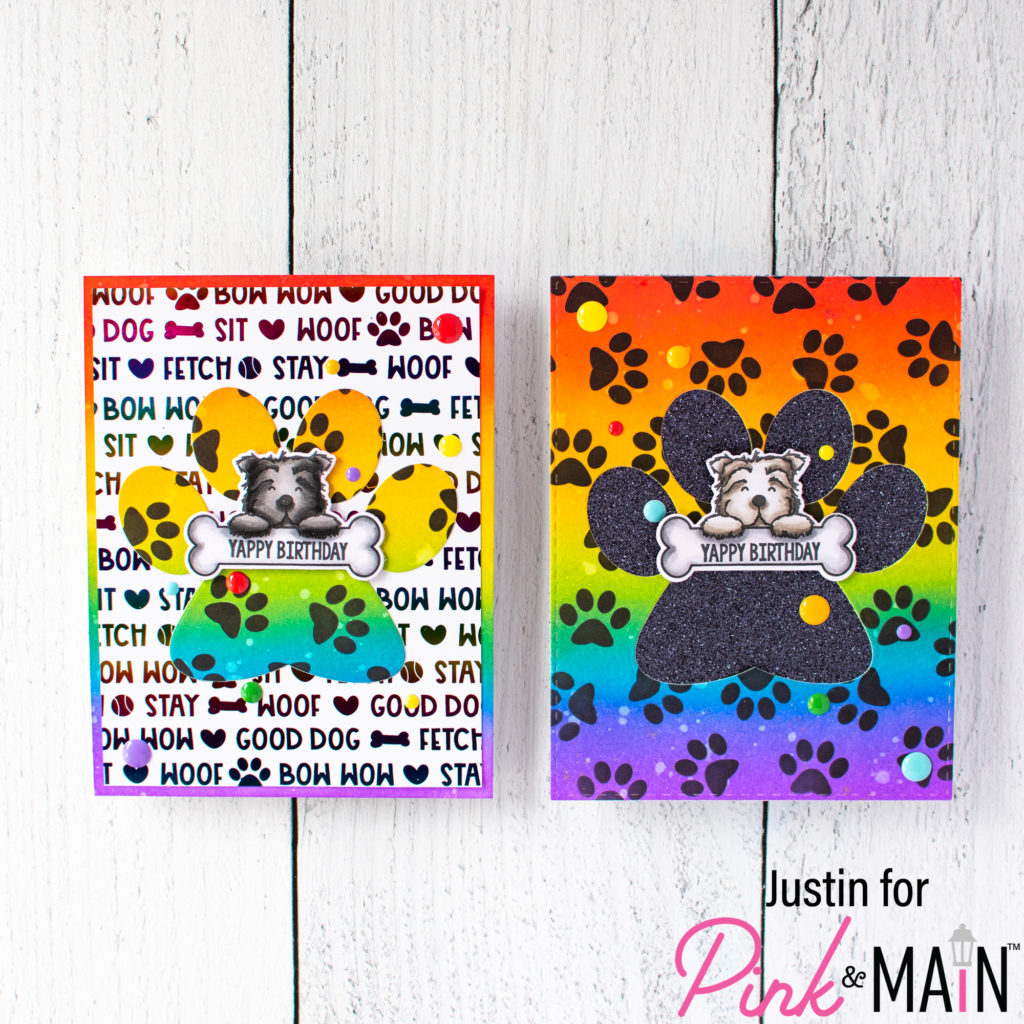
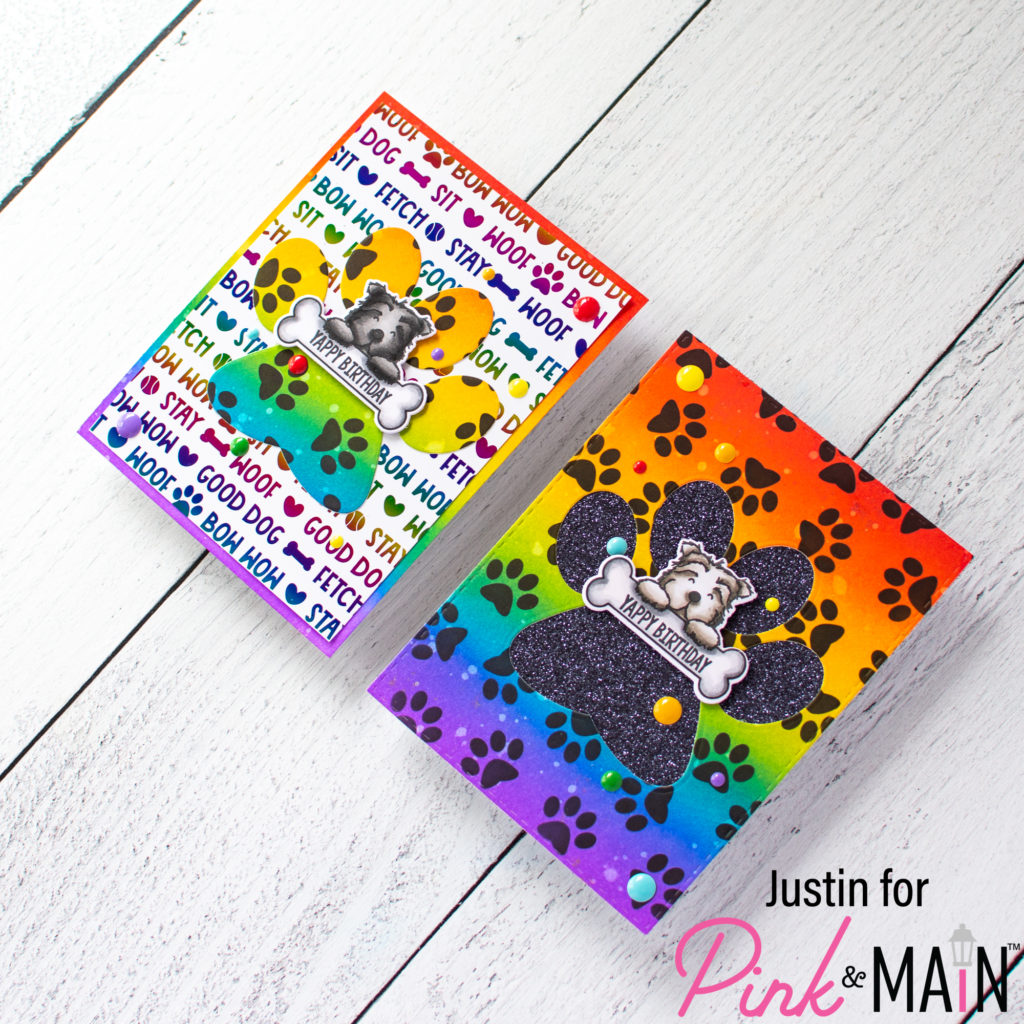
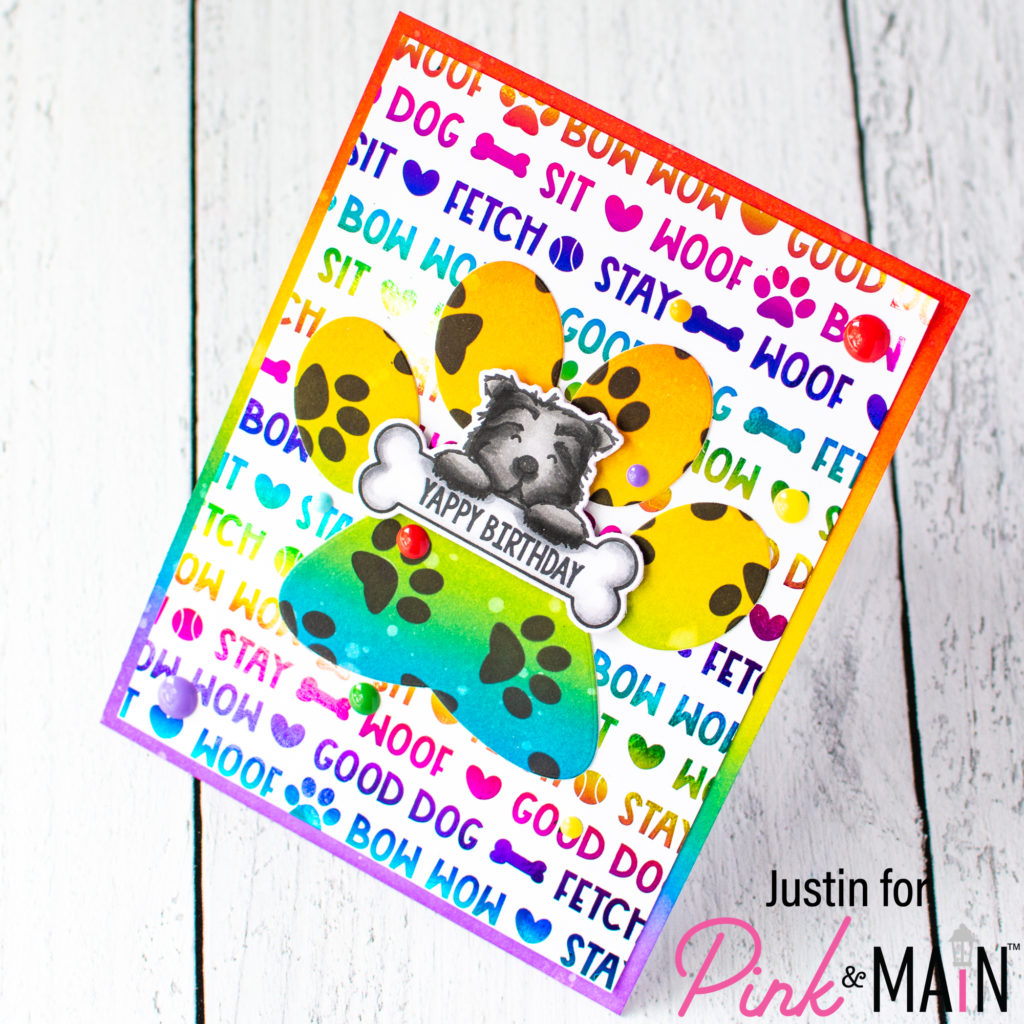
This pair of cards uses the new Paw Prints Stencil, Paw Prints Dies, and Dogs Foilables! These new products are so versatile and you’re going to find lots of fun ways to use this for your upcoming crafty projects!
Here is a complete list of products used to create these cards:
Pink & Main Products Used
Top Dog Stamp of the Month
Top Dog Dies
Paw Prints Dies
Stitched Rectangle Dies Set 1
Paw Prints Stencil
Dogs Foilables
ROYGBIV Cheer Foil
Musical Enamel Dots
Glitter Metallic Paper
EZ Squeeze Glue
Foam Tape
Pink & Main Mini Minc
Other Key Products Used:
Copic Markers
Distress Oxide Inks: Candied Apple, Carved Pumpkin, Mustard Seed, Mowed Lawn, Salty Ocean, Wilted Violet & Black Soot
Blending Cardstock
Here are some details for how I put my cards together!

I started off by coloring up my pups from the Top Dog stamp set, and, after they were colored up, I also stamped the “Yappy Birthday” sentiments onto each of the dog bones (hey, you can never have too many birthday cards in your stash)! Using the coordinating dies, I cut out the images and saved them for later.
Next, I took 2 panels of blending cardstock and blended up (2) rainbow panels using Distress Oxide Inks with the colors listed above. I splattered the panels with water and blotted it up for some bleach marks on my cardstock. Then, on one of the panels, placed the Paw Prints stencil on top, and blended over it with Black Soot Distress Oxide Inks. I took both rainbow panels and die cut it with the largest die from the Stitched Rectangle Dies Set #1. I also used the large die from the Paw Prints Die Set and placed it in the center of the stenciled Paw Prints stencil, and cut the shape out.
I then used the ROYGBIV Cheer Foil on top of one of the patterns included in the Dogs Foilables, and adhered this panel onto the non-stenciled rainbow panel. Using the die cut stenciled panel as a guide, I adhered the die cut bits of the Paw Print die cut onto the Cheer Foil panel. Switching gears over to my die cut stenciled panel, I adhered a piece of Black Glitter Paper, trimmed down to A2-size, to the back of this panel so you could see the black glitter paper through the die cut.
I adhered both panels to an A2-card base, and then used foam tape to adhere the die cut images to the card as well. I finished off by adhering some Musical Enamel Dots and my cards were complete!

Thank you so much for stopping by for a sneak of the new products hitting the Pink & Main Website this upcoming Friday! I hope these cards leave you inspired to create projects for the loved ones in your life who loves their pets!
Don’t forget that for more crafty inspiration, you can follow me on Instagram, subscribe to my channel on YouTube, and check out my personal blog as well!
Thanks again for stopping by!
Happy Crafting!
Justin
