This post uses affiliate links to products I love at no additional cost to you! By clicking the links in this post, I earn a small commission should you make a purchase. Thank you in advance!
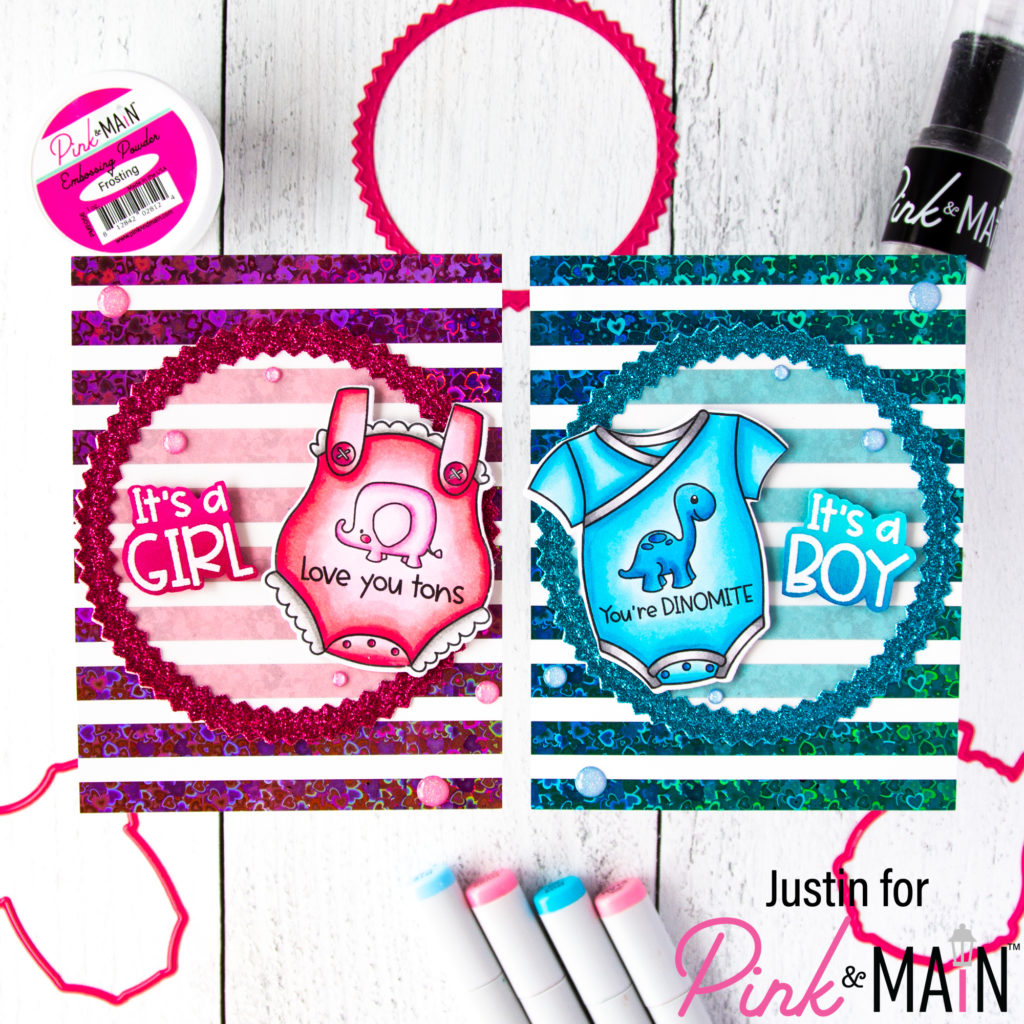
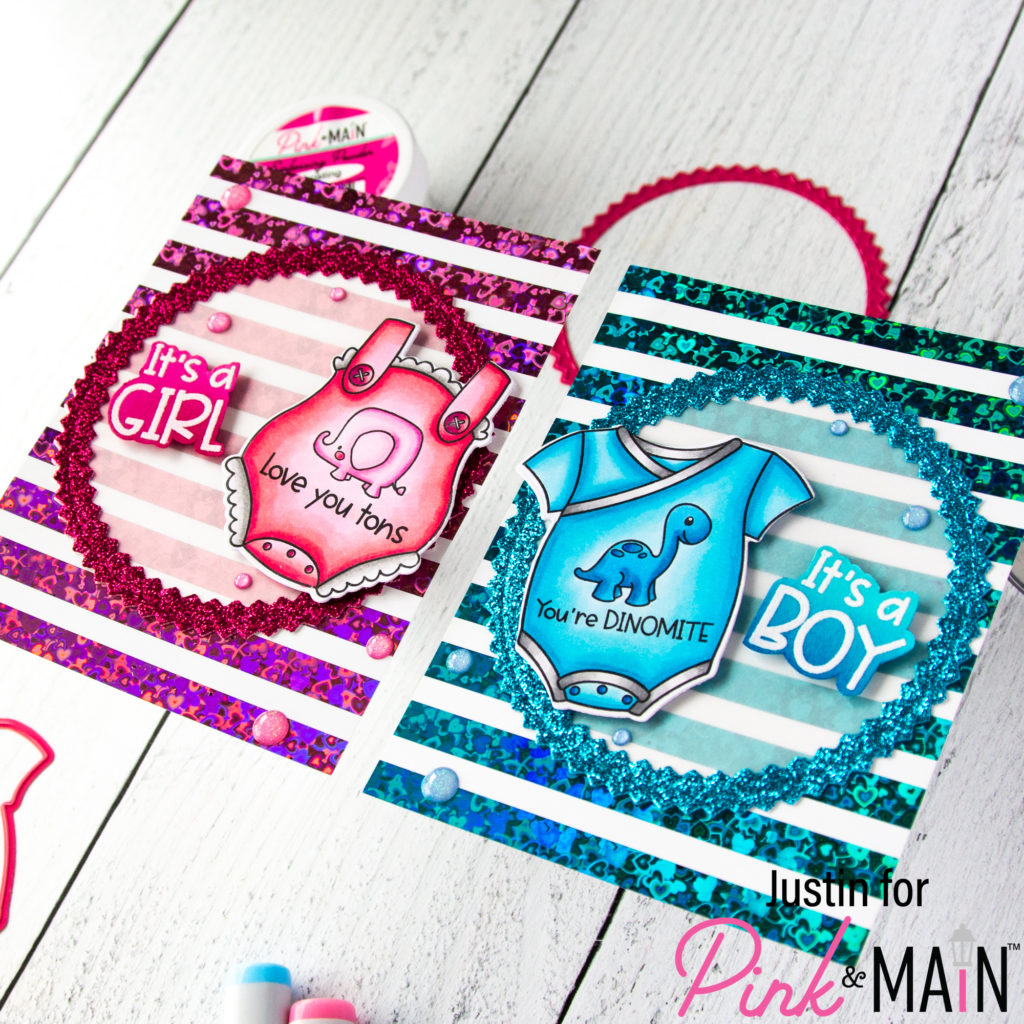
Hello friends! Justin here, and today I am having some more fun with the brand new Cheer Foils! These foils just really amp up your projects, especially when paired with the new Foilable Kits! I created a pair of baby-themed cards using the new stamp set, Welcome Baby, and I am so excited to walk you through how I put this together!
Pink & Main Products Used:
Welcome Baby
Welcome Baby Dies
Zig Zag Circle Dies
Two Hearts Foilable Kit
Lots of Love Teal CheerFoil
Lots of Love Pink CheerFoil
Butterfly Kisses Enamel Dots
Summer Glitter Paper Pack
Premium Dye Inks: Dress Shop & Barbershop
Cardstock: Dress Shop & River Walk
Embossing Watermark Ink Pad
Frosting Embossing Powder
Foam Tape
EZ Squeeze Craft Clue
Other Key Products Used:
Copic Markers
Vellum
Now let’s get to how I put these cards together!

Now, the very first thing that I did was turn on my laminator to let it pre-heat for at least a good 30 minutes.
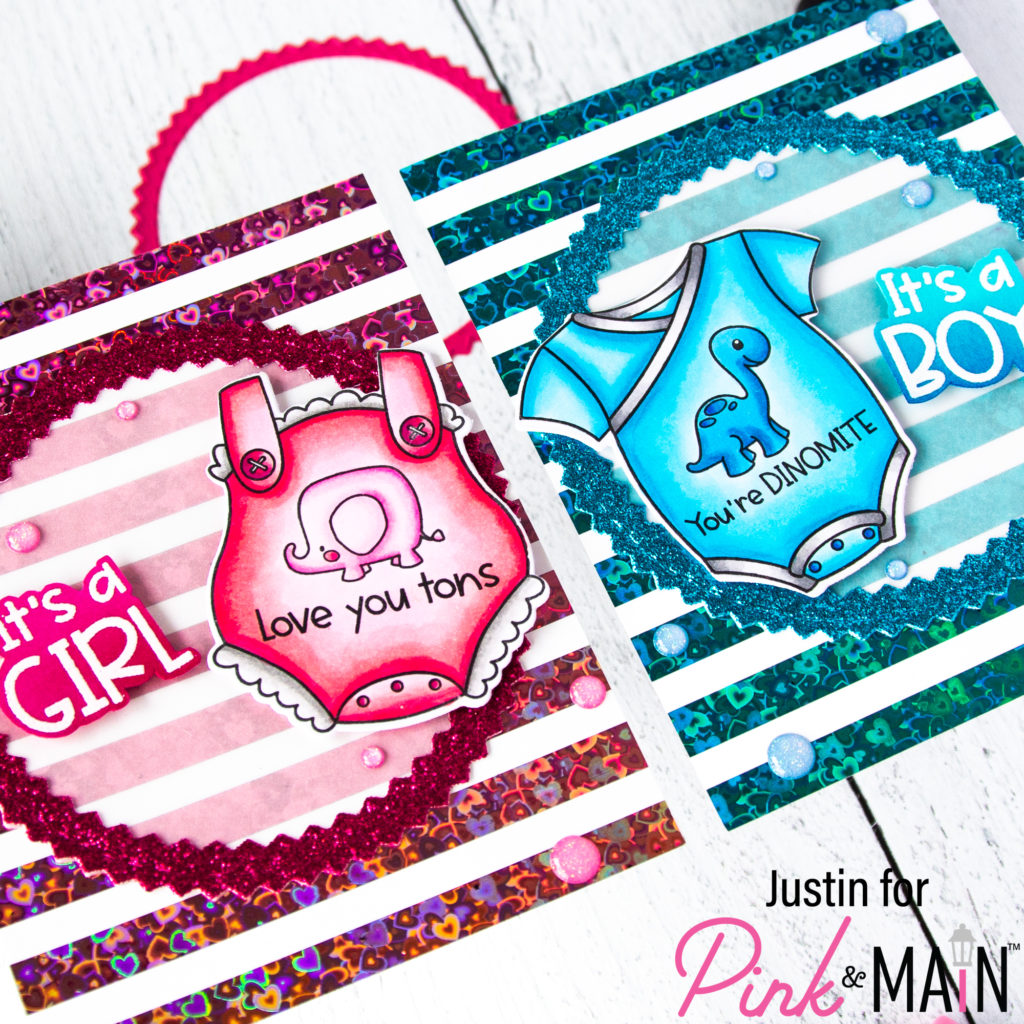
I started off my cards by stamping out the 2 different onesies included in the Welcome Baby stamp set. What I LOVE about this stamp set is that there are a bunch of images and sentiments included for you to customize the onesie to fit what you want to create! I decided to stamp out the “You’re Dinomite” stamp for the blue onesie, and the “Love You Tons” stamp for the pink onesie! I colored them up with Copic Markers and then used the coordinating dies to cut the images out. I set them aside for later.
Next, I used the Zig Zag Circle Dies to die cut (2) vellum zig zag circles, and then (2) zig zag frames from the Summer Glitter Paper Pack. The frames were easy to make, as I just placed one Zig Zag Circle Dies inside the other one and then, when processed through my machine, it makes a frame! I adhered the frames on top of a vellum Zig Zag Circle Die Cut as well.
I stamped out the sentiment “It’s a Boy” from the Welcome Baby stamp set onto River Walk Cardstock in Embossing Watermark Ink, and then heat embossed the sentiment with Frosting Embossing Powder. Then, I repeated the process by stamping the “It’s a Girl” sentiment onto Dress Shop Cardstock. I fussy cut both the sentiments out, and then I lightly ink-blended the bottom of the It’s a Boy sentiment lightly with Barber Shop Premium Dye Ink, and the It’s a Girl sentiment with Dress Shop Premium Dye Ink.
I was now ready for some foiling. I took the stripes pattern from the Two Hearts Foilable Kit and cut it into (2) A2-sized panels. I processed one panel through my laminator with the Pink Lots of Love CheerFoil and the second with the Teal Lots of Love Cheer Foil.
I took (2) A2-sized card bases and then adhered the foiled panels directly on top of each one. Then, using the coordinating colored images and dies, I adhered them onto my card using a combination of Liquid Adhesive and Foam Tape. I finished the card by adhering a few coordinating color enamel dots from the Butterfly Kisses Enamel Dots! My card was complete!

Thank you so much for stopping by the Pink & Main Blog today! I hope you’re loving all of this foiled inspiration, and maybe it’s even giving you some inspiration to make your next baby-themed cards!
Don’t forget that for more crafty inspiration, you can follow me on Instagram, subscribe to my channel on YouTube, and check out my personal blog as well!
Thanks again for stopping by!
Happy Crafting!
Justin
