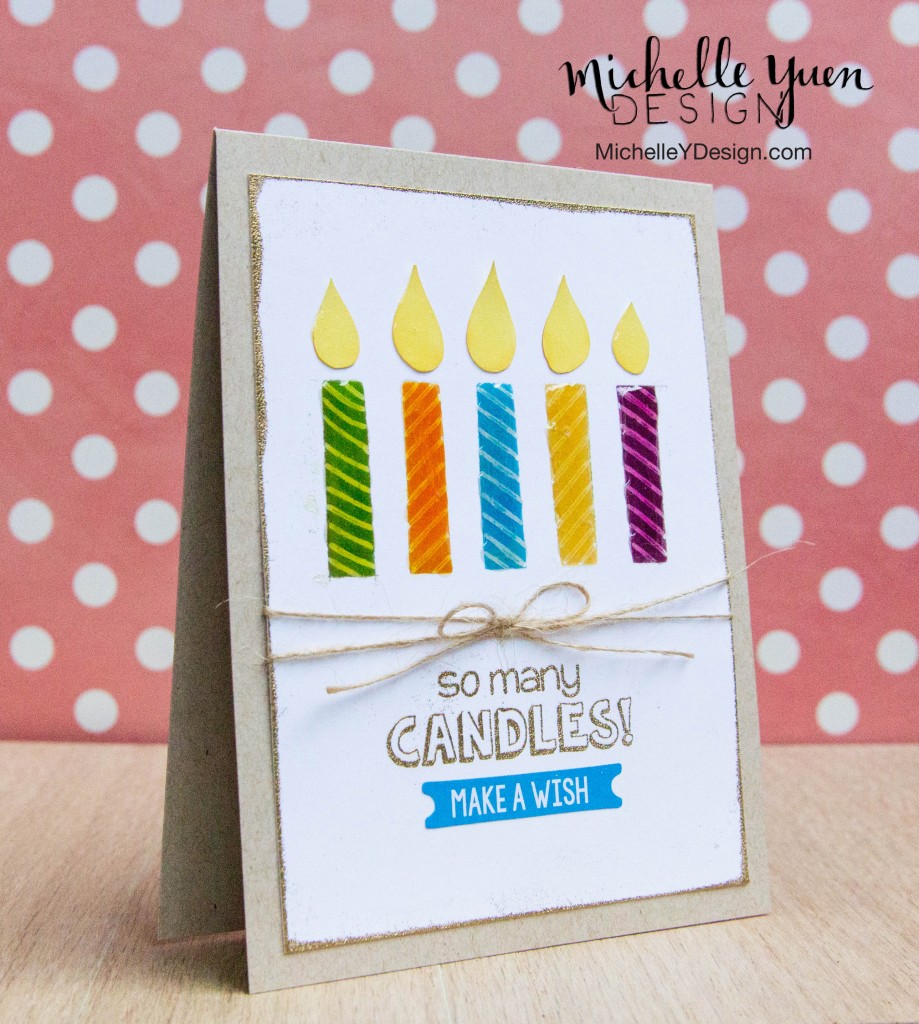
Hi everyone, it’s Michelle here!! Today is a bittersweet today as it is my LAST one as a design team member for Pink & Main. It’s been such a great opportunity to be on this amazing team, and to work with Michelle (Pink & Main owner). As a little special treat on my last day, I’ve created a fun video tutorial that shows you how to make this birthday card with masked candles.
This is a very “DIY” card that doesn’t require much and can be customized with your own colors and supplies!
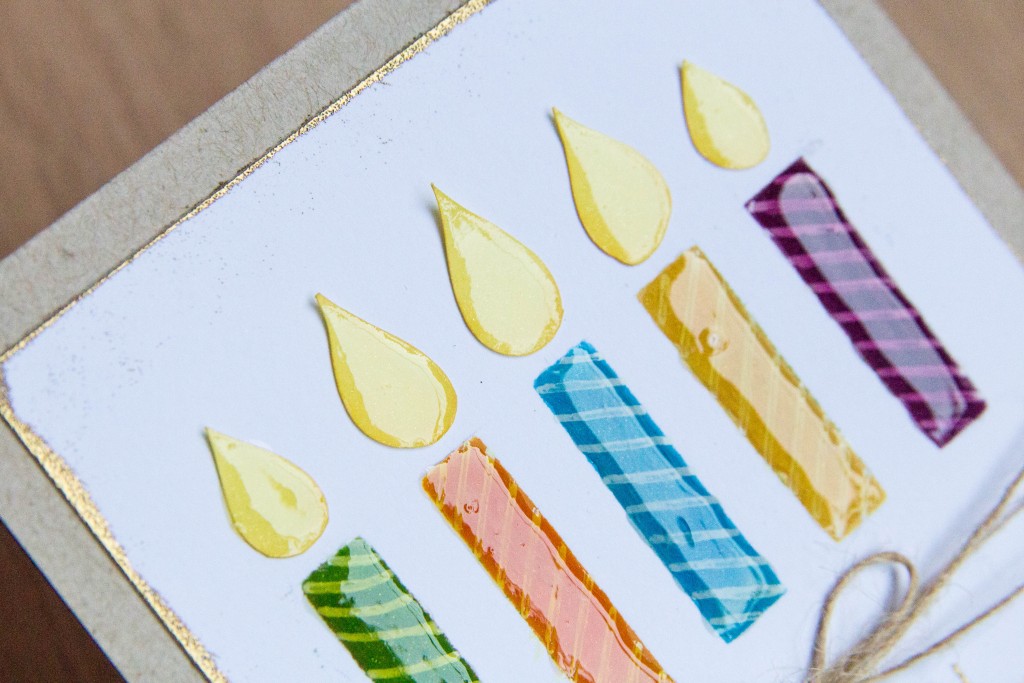
To create the candles, I cut a simple small rectangle mask from a post-it note and then inked them up with some Distress Inks. To make them look more like candles, I drew on stripes with a white gel pen. Then I freehand cut some flame shapes, and inked the edges with a dark yellow Distress Ink to create dimension. To make them all a little more festive and dimensional, I covered them first in Wink of Stella glitter pen and then in Glossy Accents.
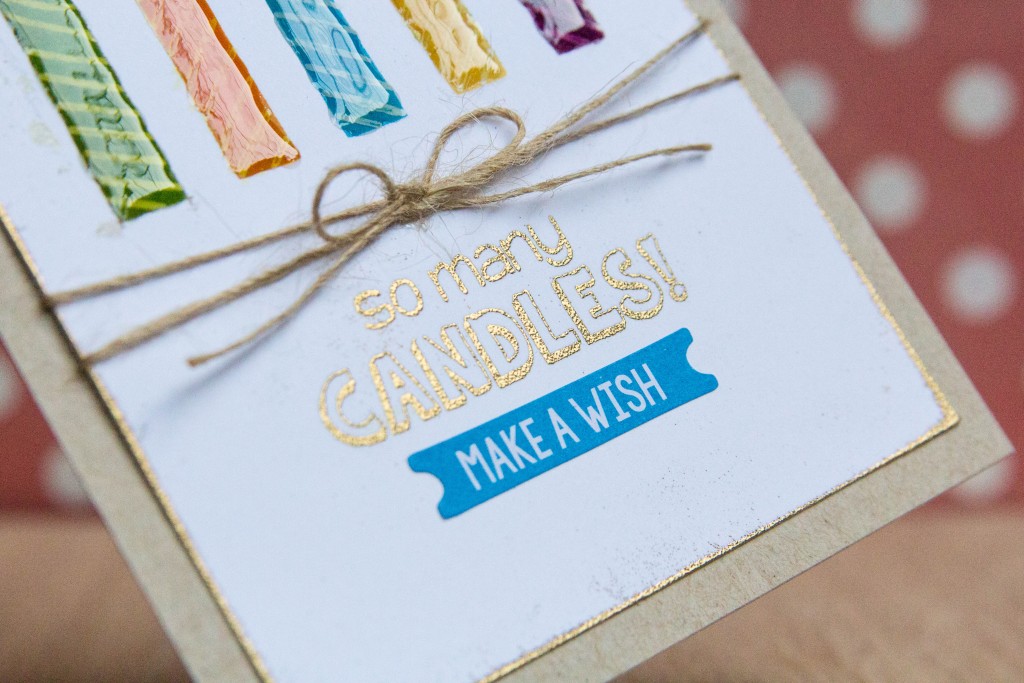
I stamped and heat embossed a sentiment from the Pink & Main Birthday Wishesstamp set in gold embossing powder. I also rubbed my Versamark ink along the edges of my panel and added gold embossing to the edges to create a unique, embossed “frame” to give definition. I also added some twine tied into a bow over the sentiment, because I love bringing in twine when using kraft cardstock.
As a final touch, I added a “Make a Wish” sticker that I found on a Freckled Fawn sticker sheet that I thought matched the blue candle perfectly.
You can click here to watch the video and see it in action!
I hope you liked this video – and even though this is my last post, I really hope you’ll connect with me onYouTube and/or Instagram! 🙂


