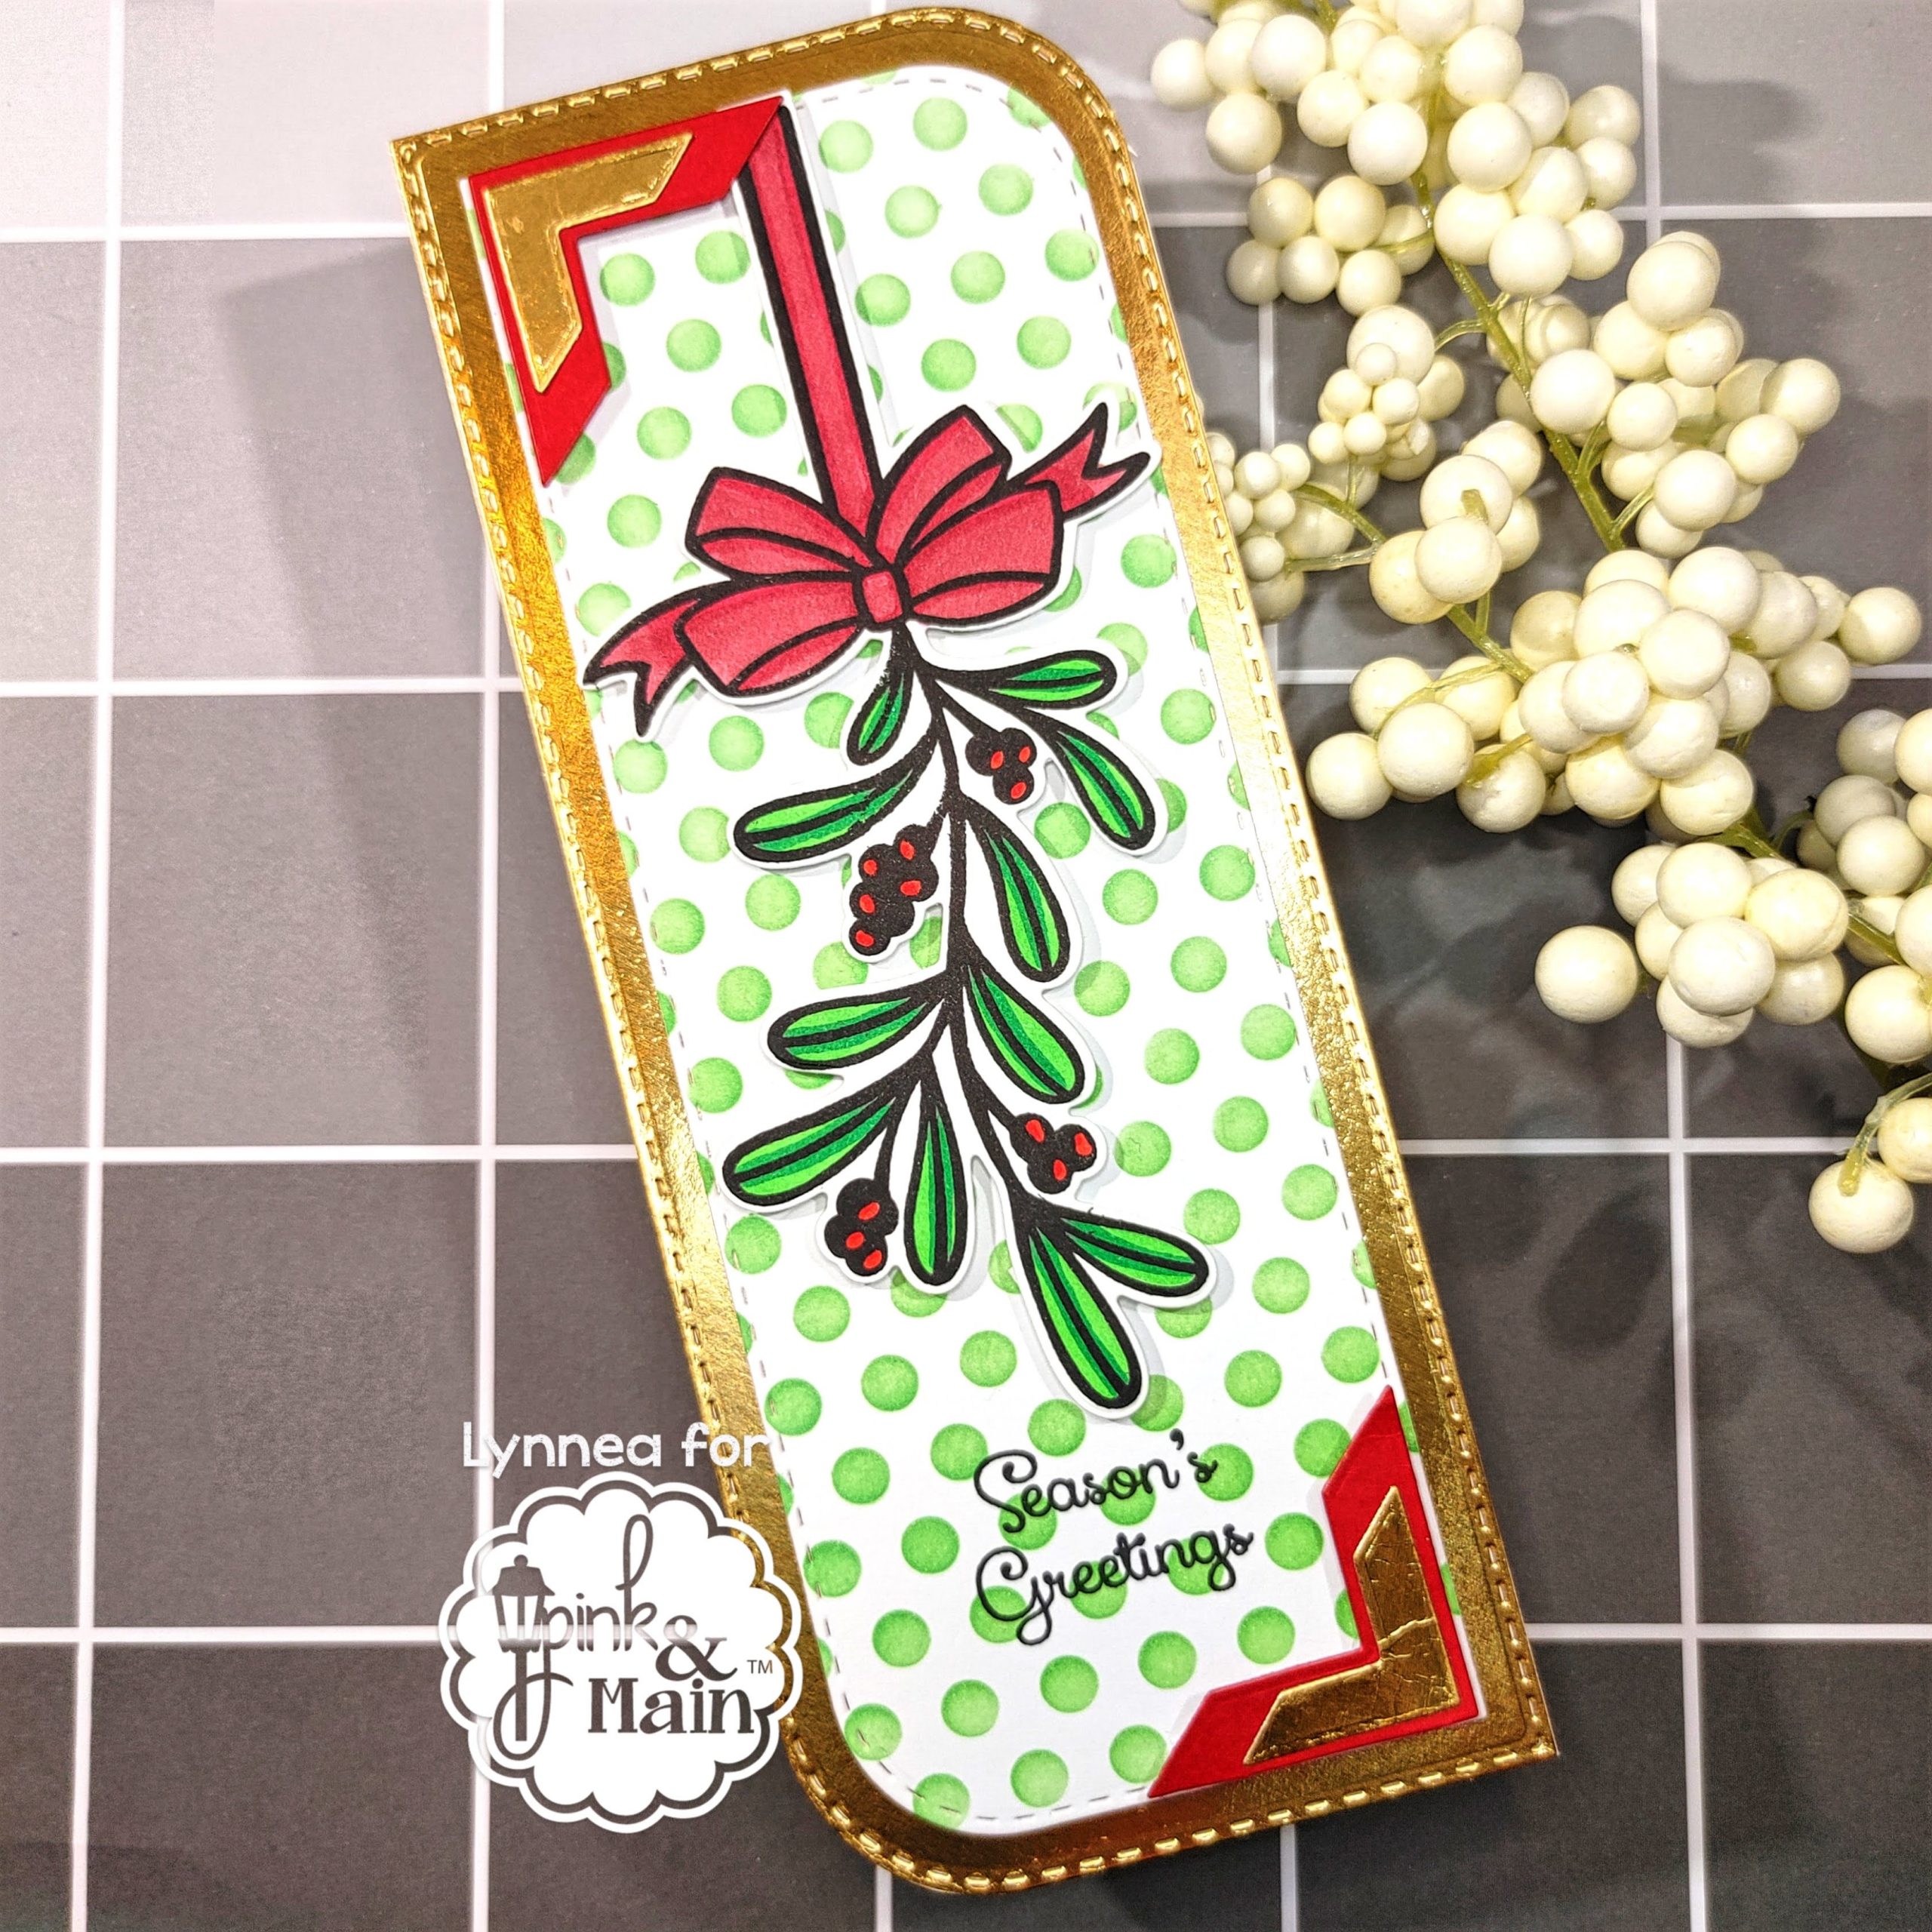
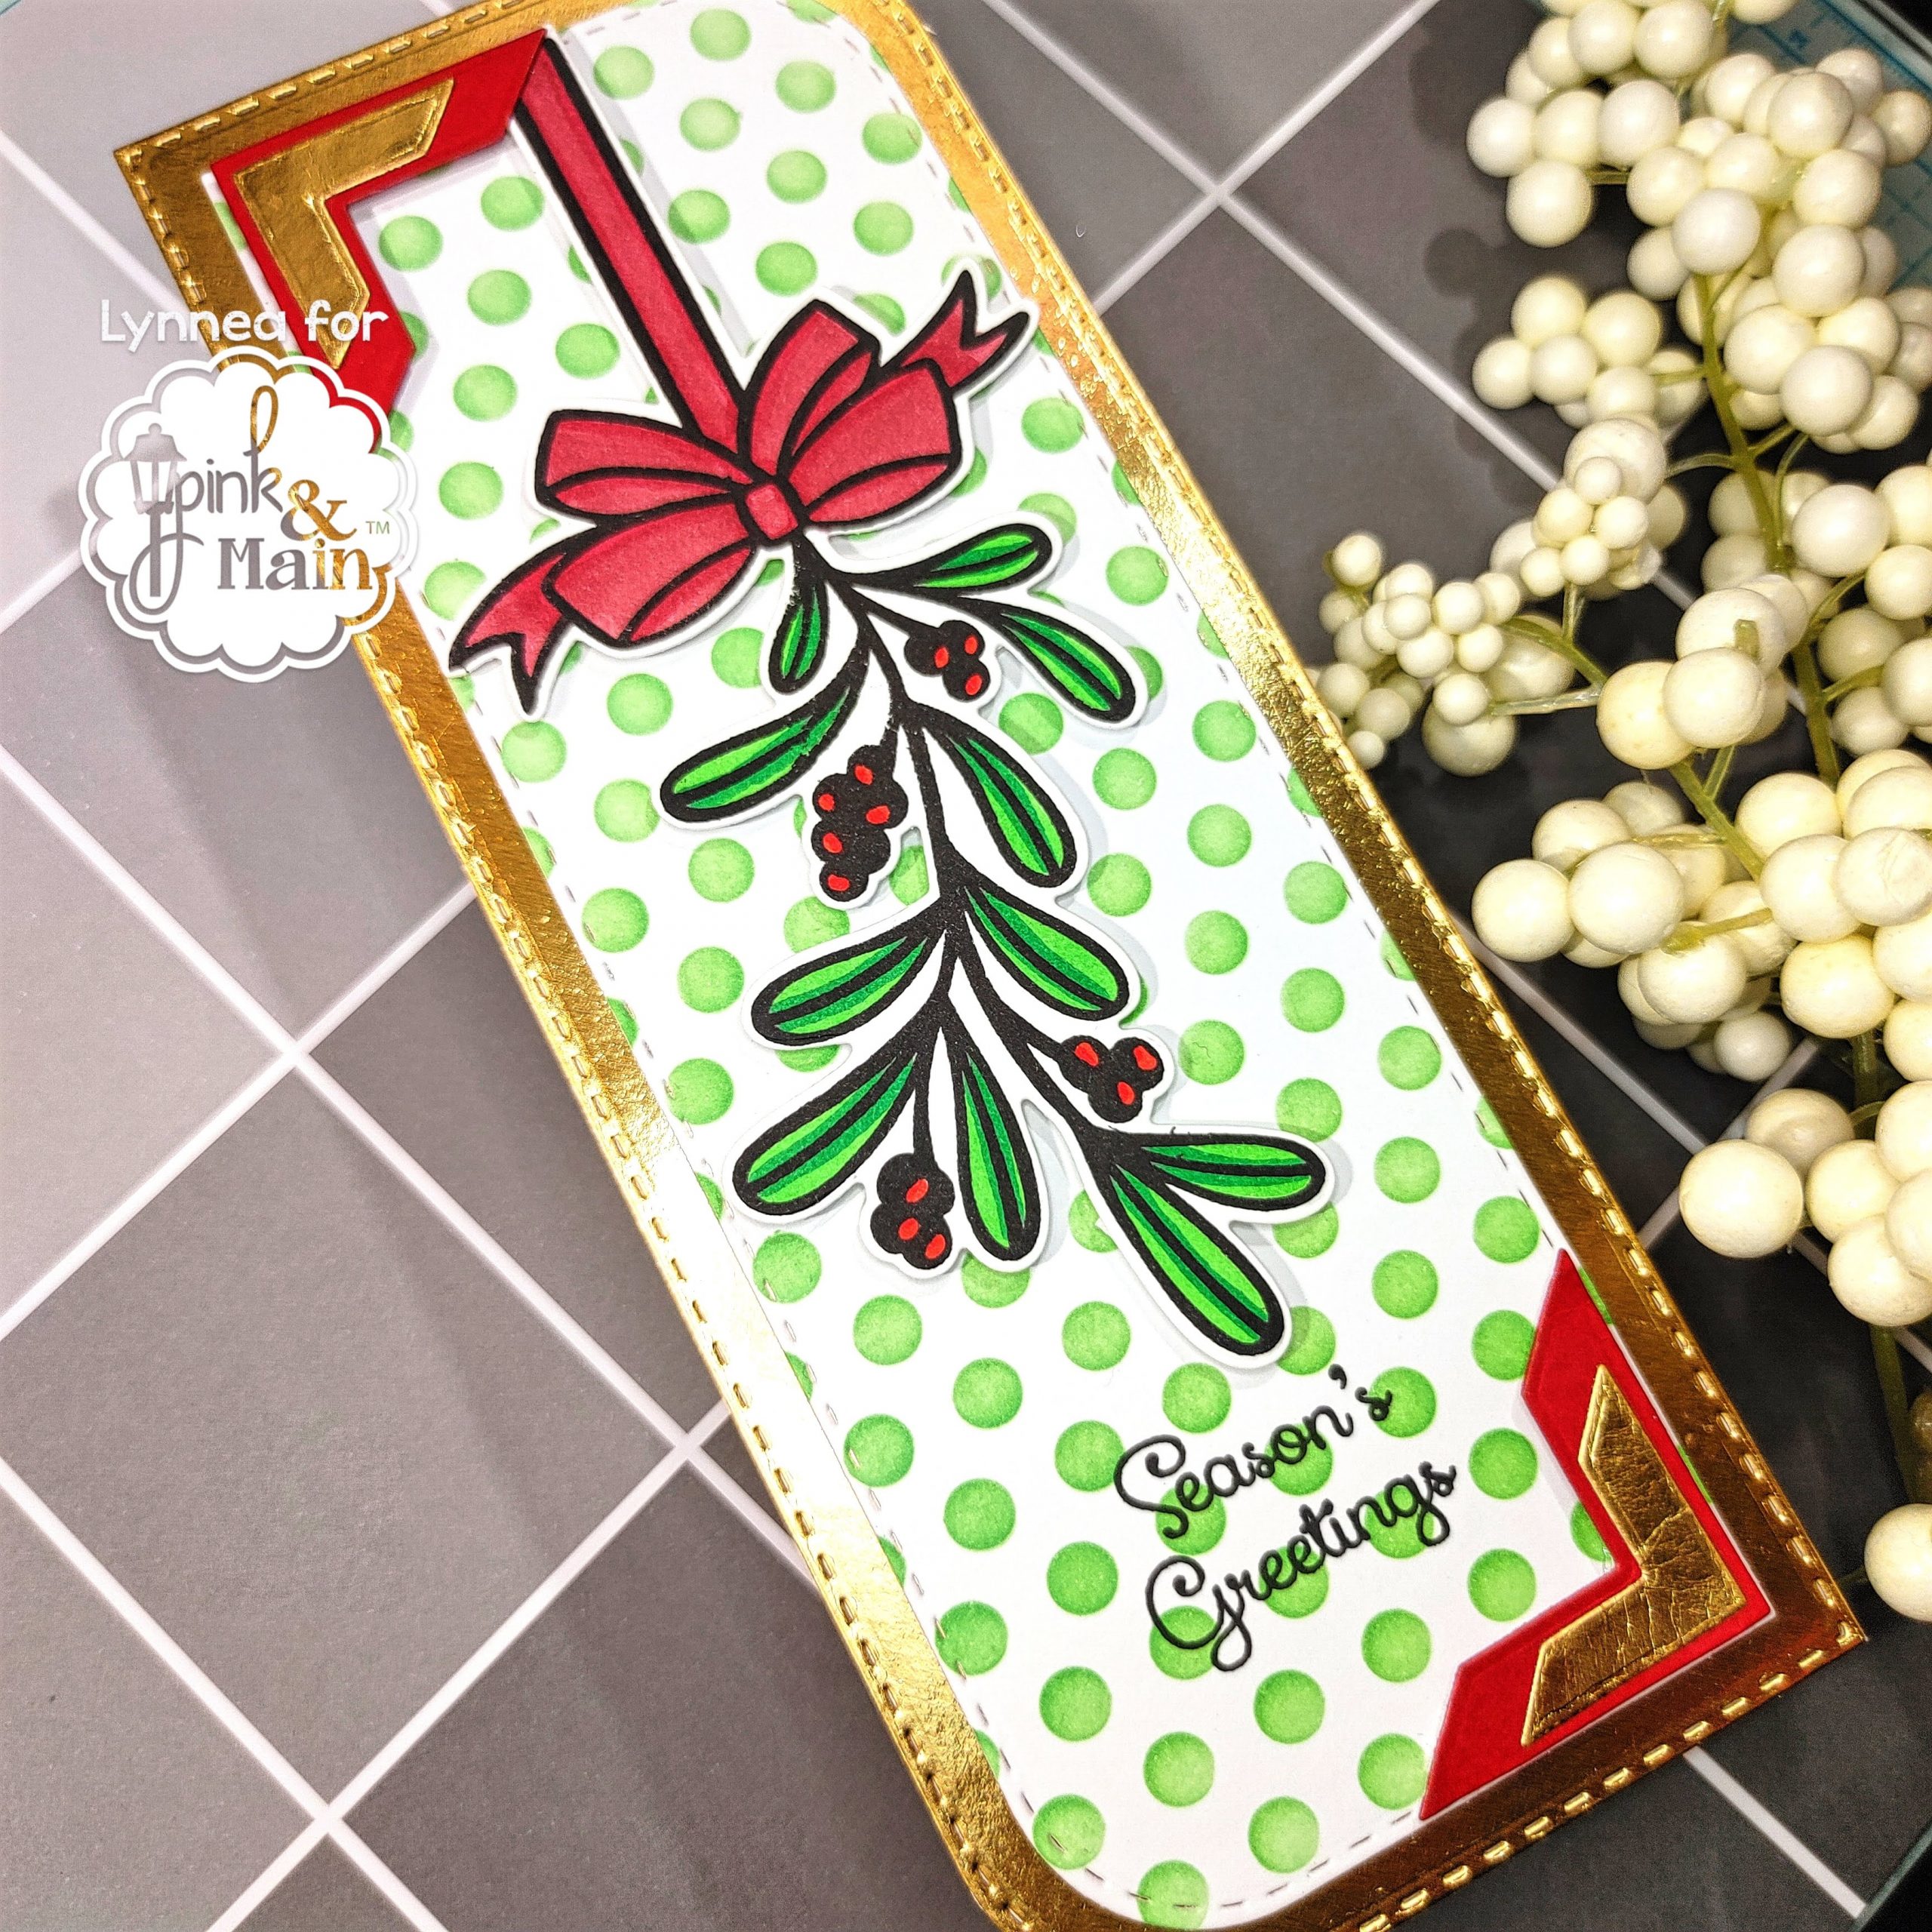
Hello! I’m going to show you how easy it is to stretch a stencil for.a slimline card design with the Pink & Main Mistletoe Stamp Set!

I die cut the smaller stitched shape die from the Beautiful Slimline Die Set from white cardstock and placed the Dotty Stencil towards the top of the cardstock. I used an Ergonomic Blending Brush and blended on some mint ink. I removed the stencil and shifted it to the bottom of the die cut background being sure to line up the design on the stencil with what I’ve already stenciled and then blended on more mint ink. Boom! Stencil “stretched”! Haha!

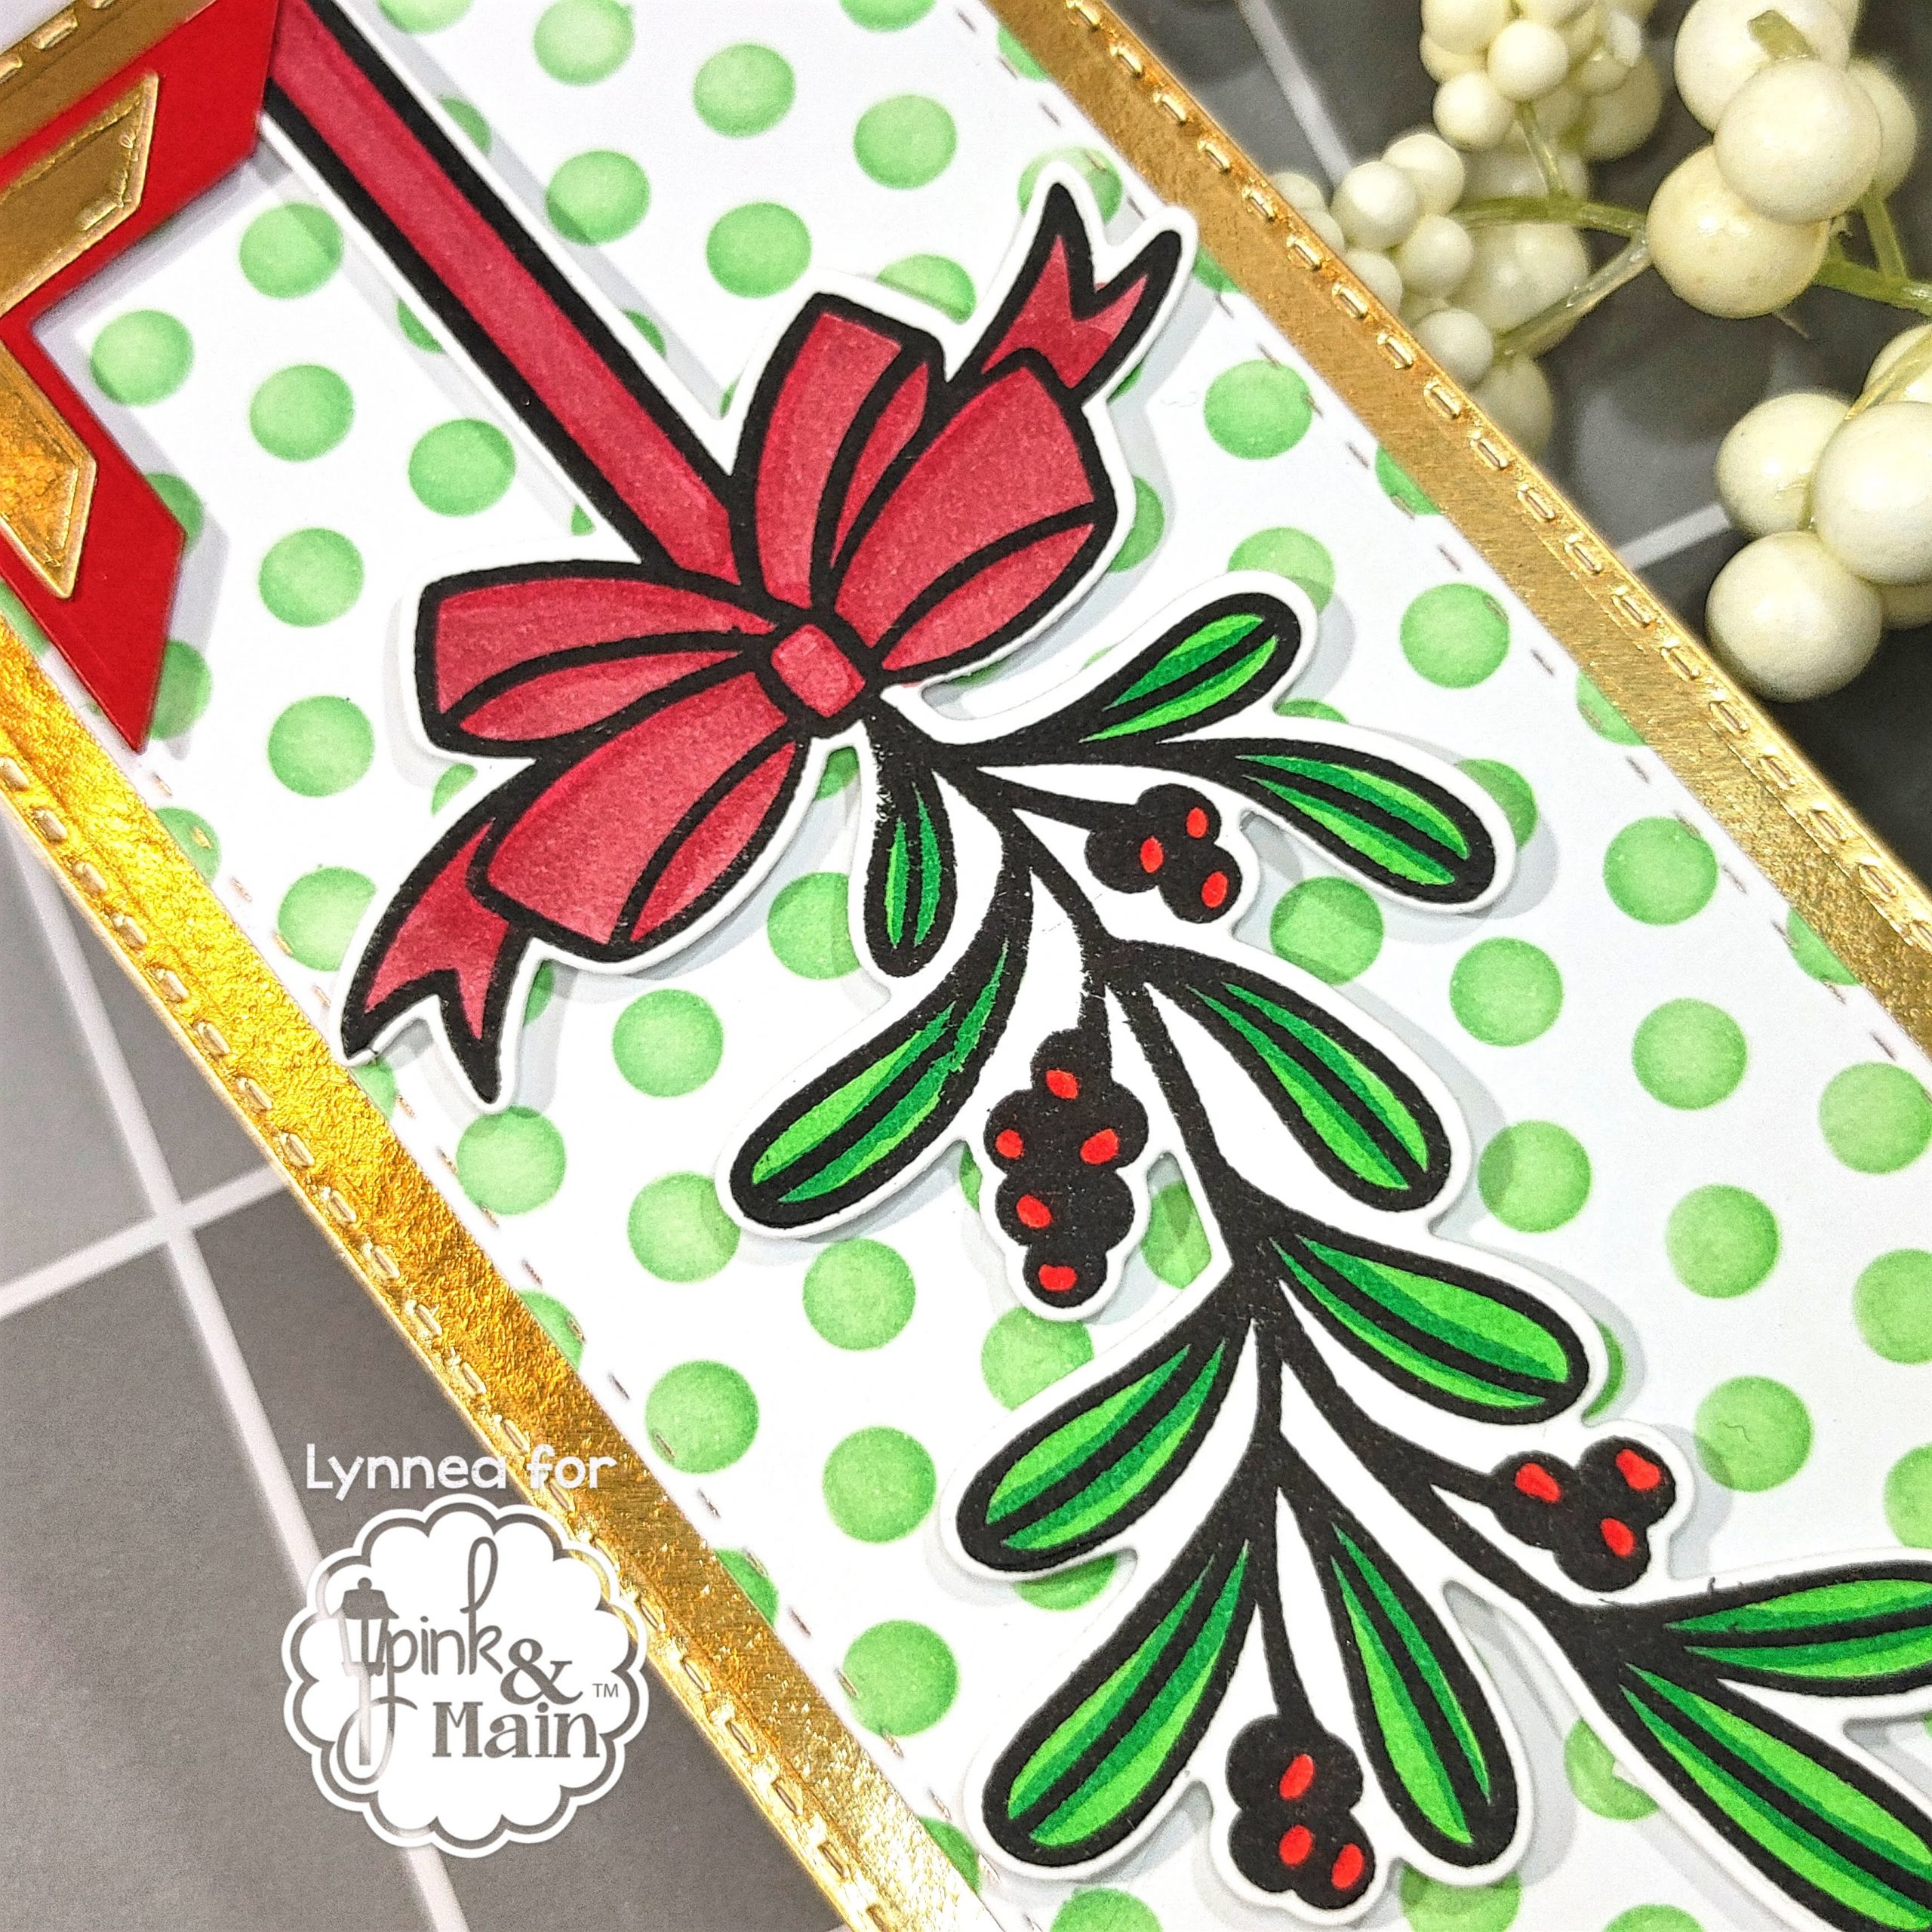
I stamped the main image from the Mistletoe Stamp Set and colored it with Copics and die cut it with the coordinating Mistletoe Dies. I added it to the center of the ink blended background and stamped a sentiment from the Mistletoe Stamp Set beneath it. The card was missing some glam, so I die cut the larger stitched shape die from the Beautiful Slimline Die Set from gold foil cardstock as well as the decorative corners.

I added everything onto a 3.25″ x 8.25″ card base and trimmed away the top right and bottom left corners so that my final card would be shaped like the stitched Beautiful Slimline background. That’s it! I’ll see you soon!
