Hello friends and welcome back! It’s Laurie here to share a rather time consuming yet fun card! And it all started with this image from Pinterest..

I do like a good geometric pattern and Pinterest is just the place to get great ideas!
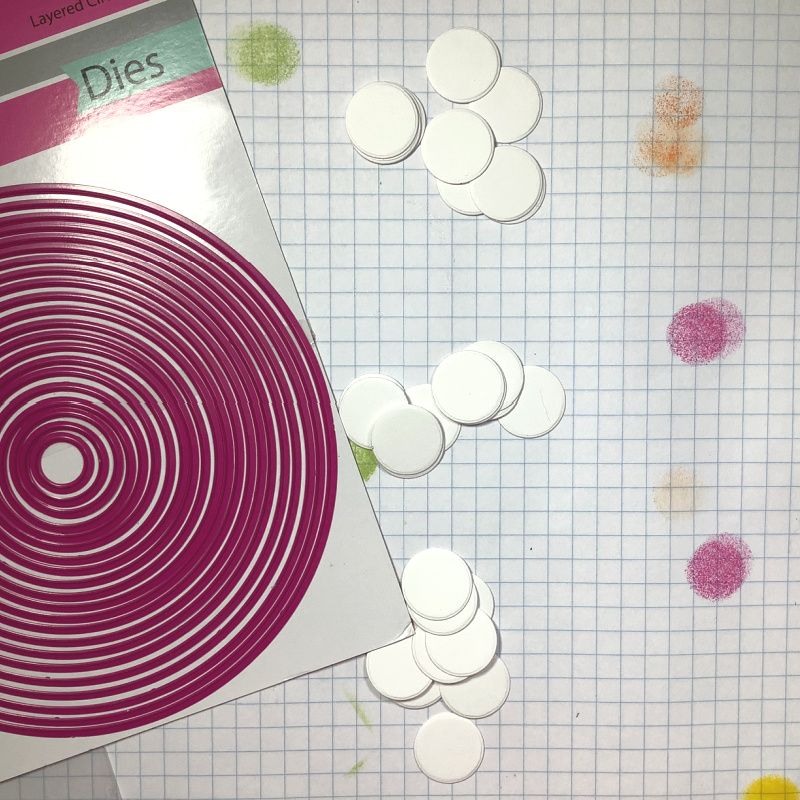
I started by cutting about 36 circles using the second smallest die from the Layered Circle Dies Set. Yes, this took a bit of time but not too bad! After the circles were cut, I chose a colour palette for all my circles. I did leave some white!
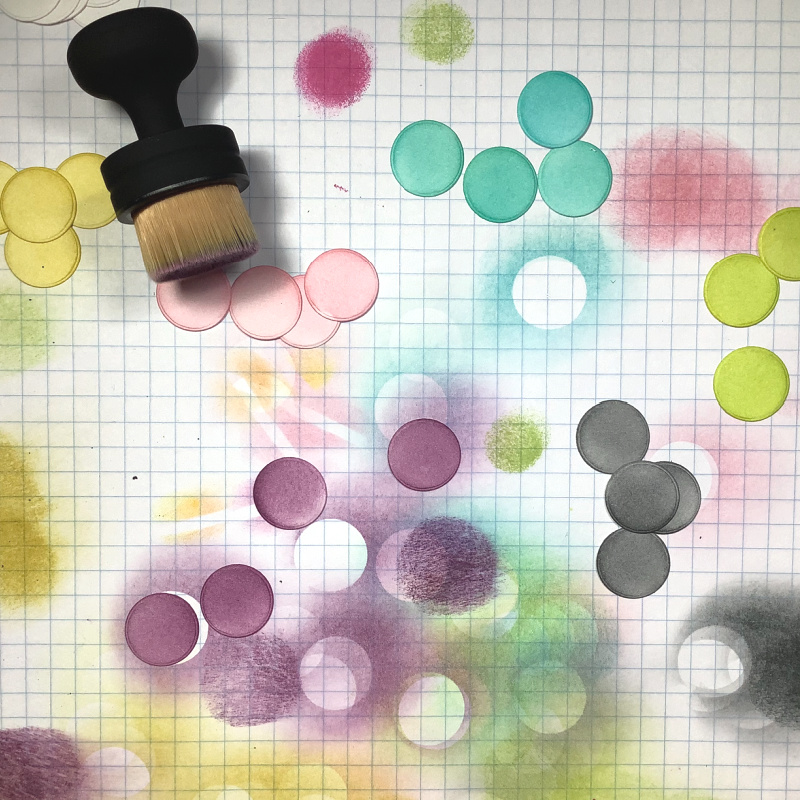
I used the Mini Ergonomic Blending Brush to apply the ink. I used the same brush for each colour. I simply wiped as much ink off as I could in between colours and it worked perfectly!! It also went by very quickly. With this brush, you don’t need to hold down the die cut! I found by placing the brush directly over top and using circular motions, the die cut didn’t move! And I got an excellent blend as well!!
Once all the circles were coloured, it was time to cut them in half. This particular die is 3/4″ around. I am not mathematically inclined so I had no idea where to cut it, hahaha! Luckily, the circle fits perfectly into the notch at the bottom of the Fiskars paper trimmer and looked to be almost perfect when cut!
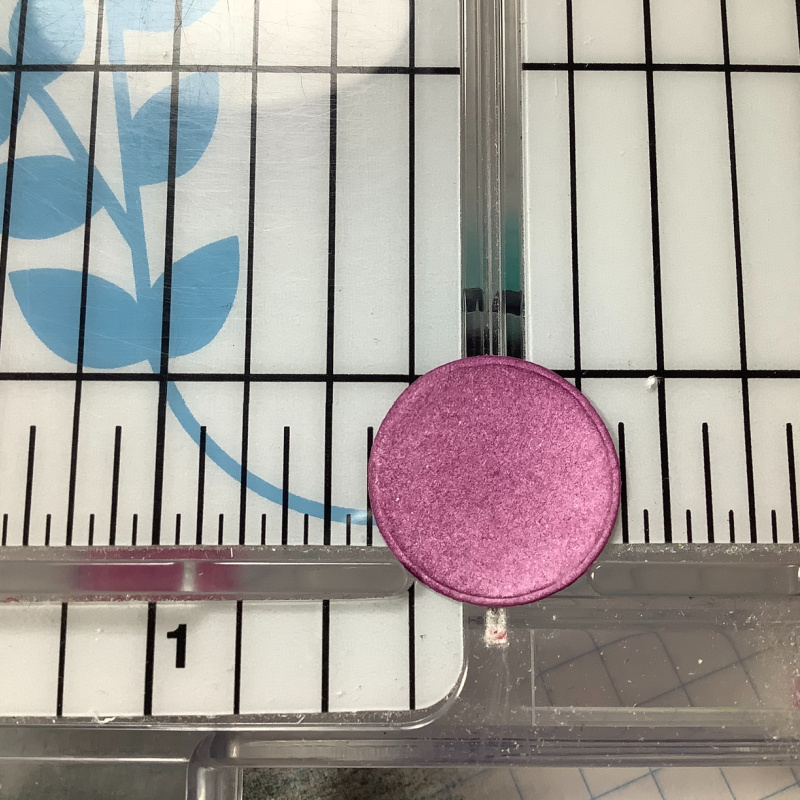
The trimming went very quickly! However, the next part does not go quickly. I roughly laid out the pattern on the front of my card base. I wasn’t sure how many rows or columns I was going to get.
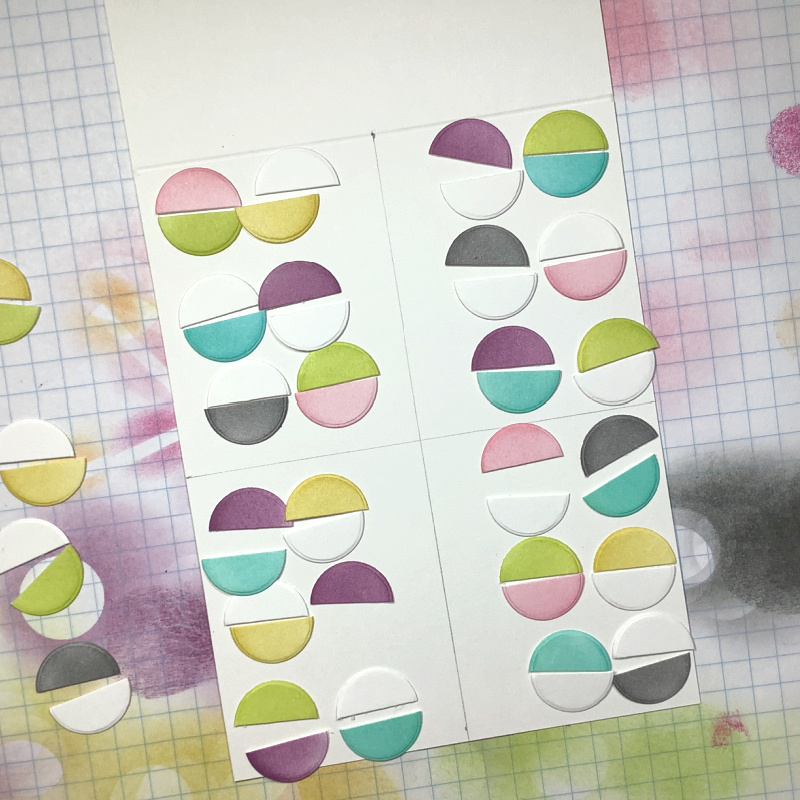
I did mark halfway both length and widthwise to be sort of a guide. Then, I just started adhering everything down! I started with the centre column and worked my way out from there.
I tried my best to keep everything even but in the finished card you can see some flaws. I did use foam adhesive so it can be kind of tricky to place things perfectly…but I was totally okay with the results!
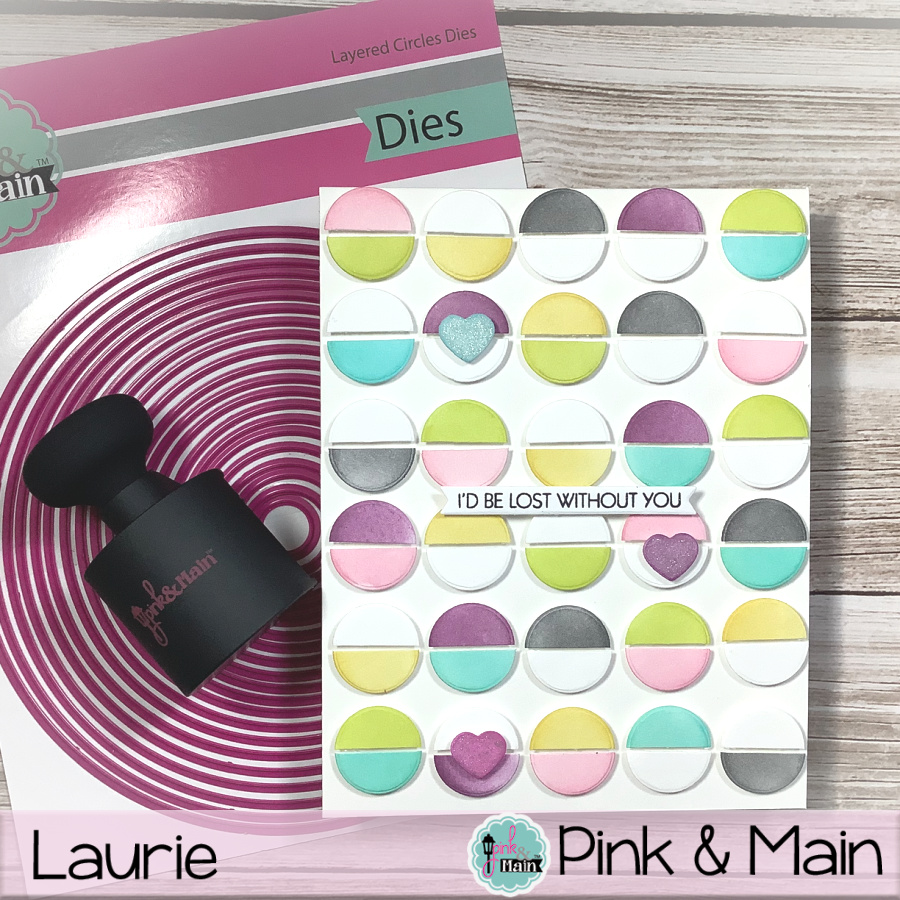
The sentiment comes from the Just Because Stamp Set and was stamped on a Sentiment Strip die. On a background like this, I think you got to keep it simple.
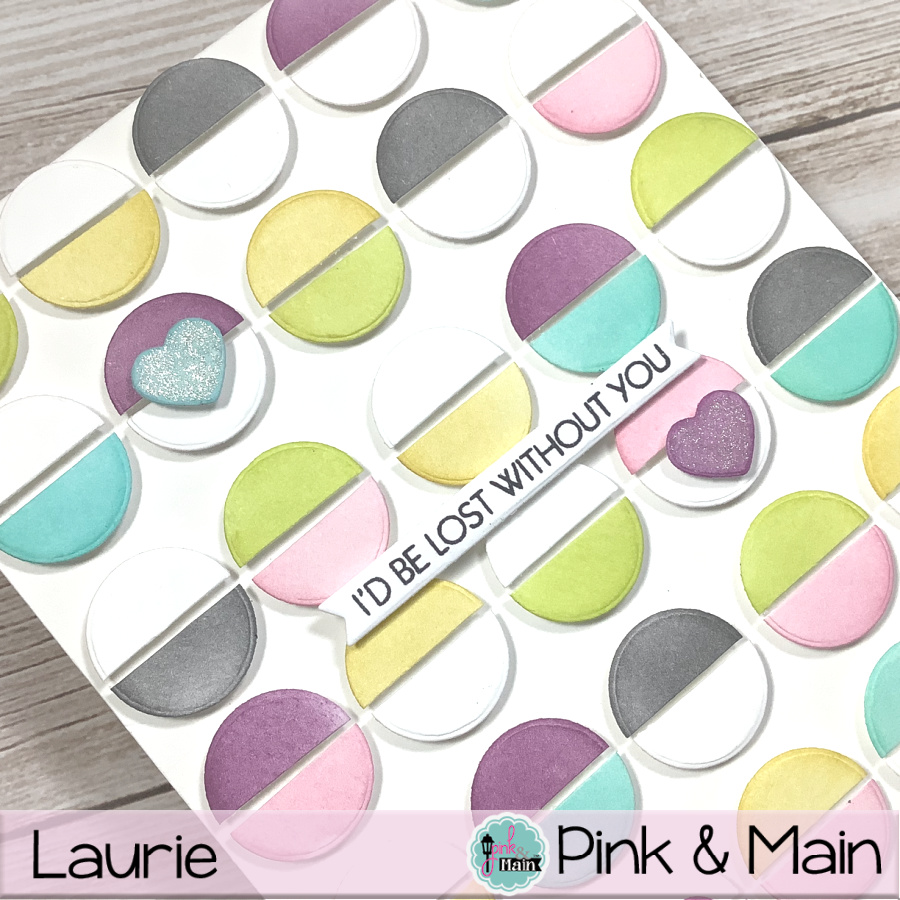
For a bit of added interest, I took the heart die from the Bright Side Die Set, cut 3 hearts, added some colour and attached them to a few of the circles. I added some sparkle pen to make them shine.
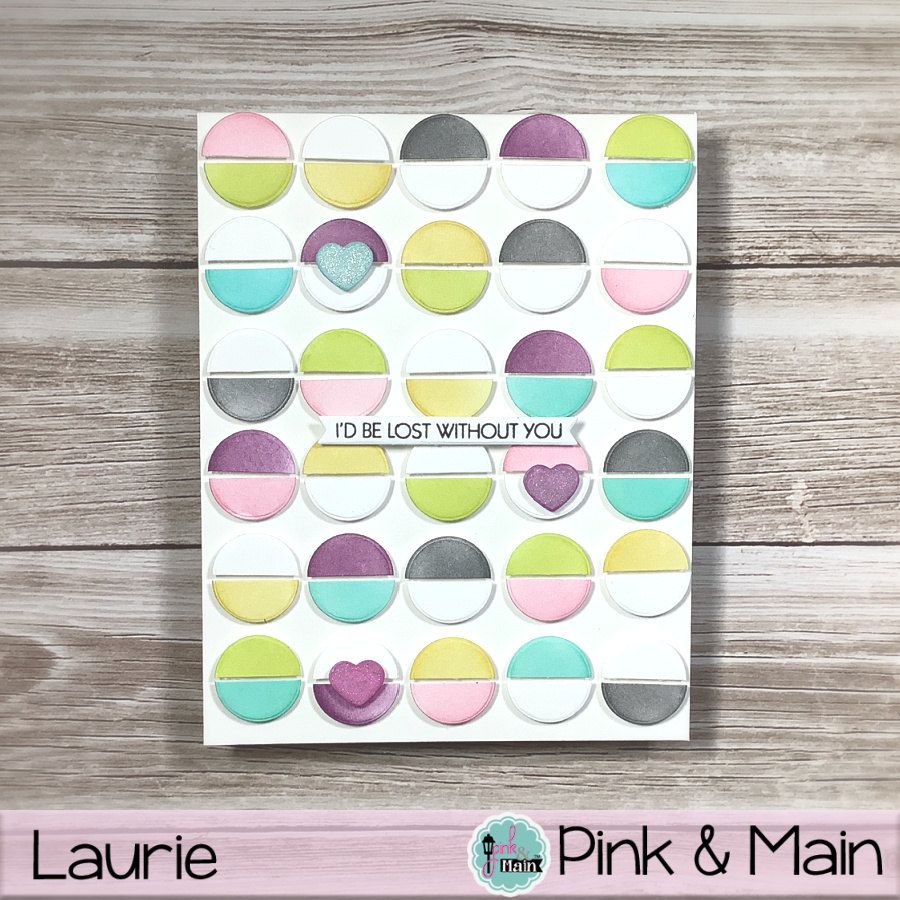
In the end, I’m happy with the result although the OCD in me would like to fix some of the minor flaws. But I will resist because at this point it would be awful if something were to rip or tear!!
Thank you for stopping by. I hope you enjoyed this process and if you have a spare hour or so, I hope you’ll try it 🙂
See you soon!
Laurie

WOW! Awesome card
Have a great day!
Marilyn💖