
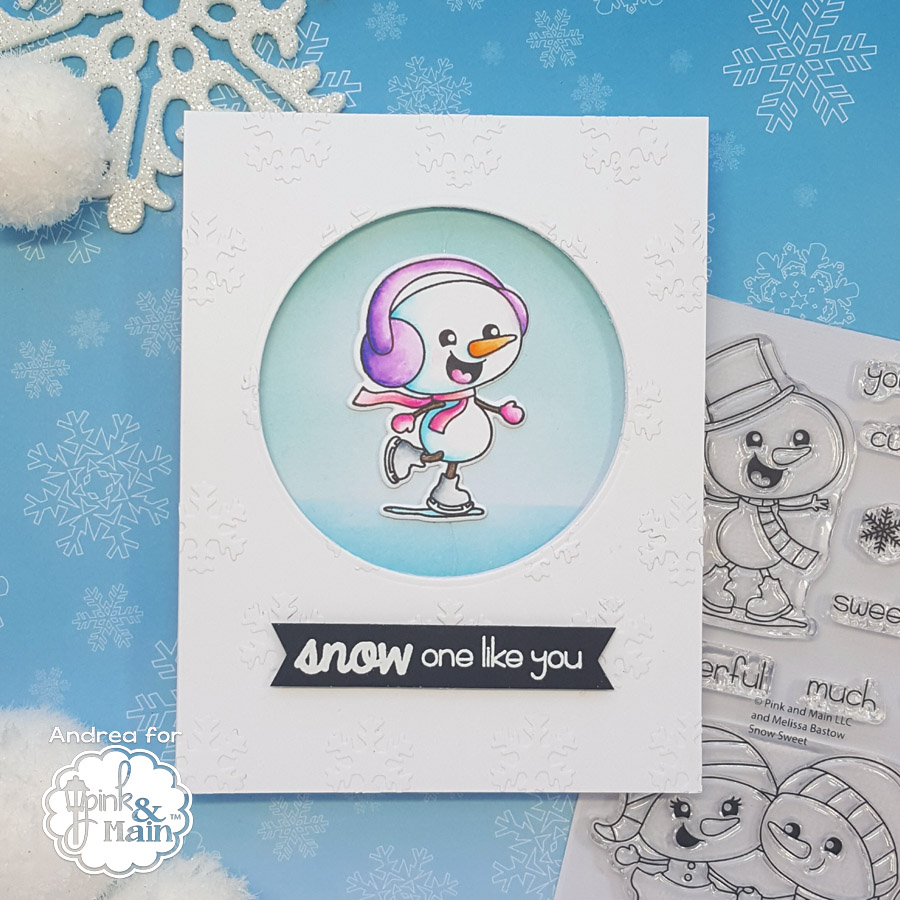
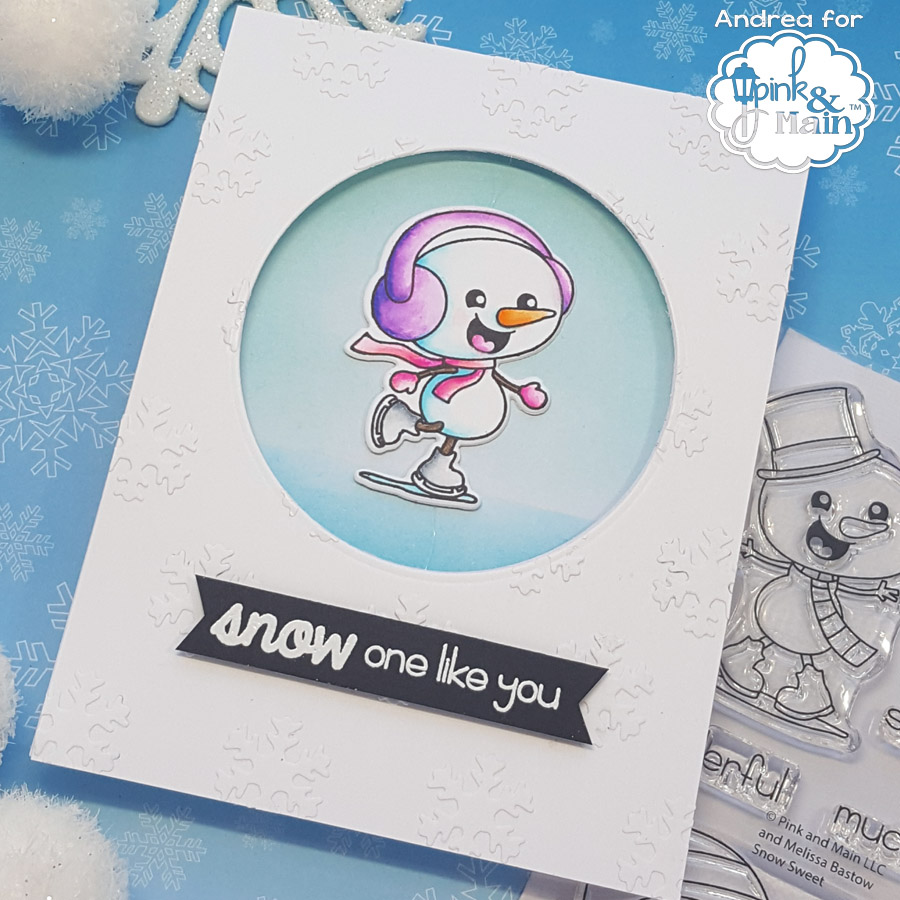
Hello there! It’s Andrea with you sharing a card featuring the adorable ice-skating snowgirl from Snow Sweet. When I first saw this set, all I could picture was this cutie twirling on the ice. Naturally, I had to make a spinner card with her!
To create the spinner, I used mirror image stamping to make a double-sided image. I first stamped the image onto Bristol paper with Versafine Onyx Black ink. I then stamped the same image onto the back side of the Butterfly Background stamp (any large, solid stamp will do) using my MISTI. After inking the stamp a few times, I placed a piece of Bristol paper over it and pressed gently to transfer the image to the paper. Be sure not to press too hard or slide your paper around so that the image is not blurred. You can also trace over your mirror image with a waterproof pen to darken the lines, which is what I did.
I colored both images with Zig Clean Color markers and a waterbrush. Once the images were dry, I die-cut them with the coordinating dies. To die-cut the mirror image, I held up my paper to a light and placed the die on the back of the image. My die-cutting was a bit off with the mirror image, so be sure to take your time lining up the die and taping it in place. Before adhering my snowgirl images together, I taped a length of clear thread to the back of one.
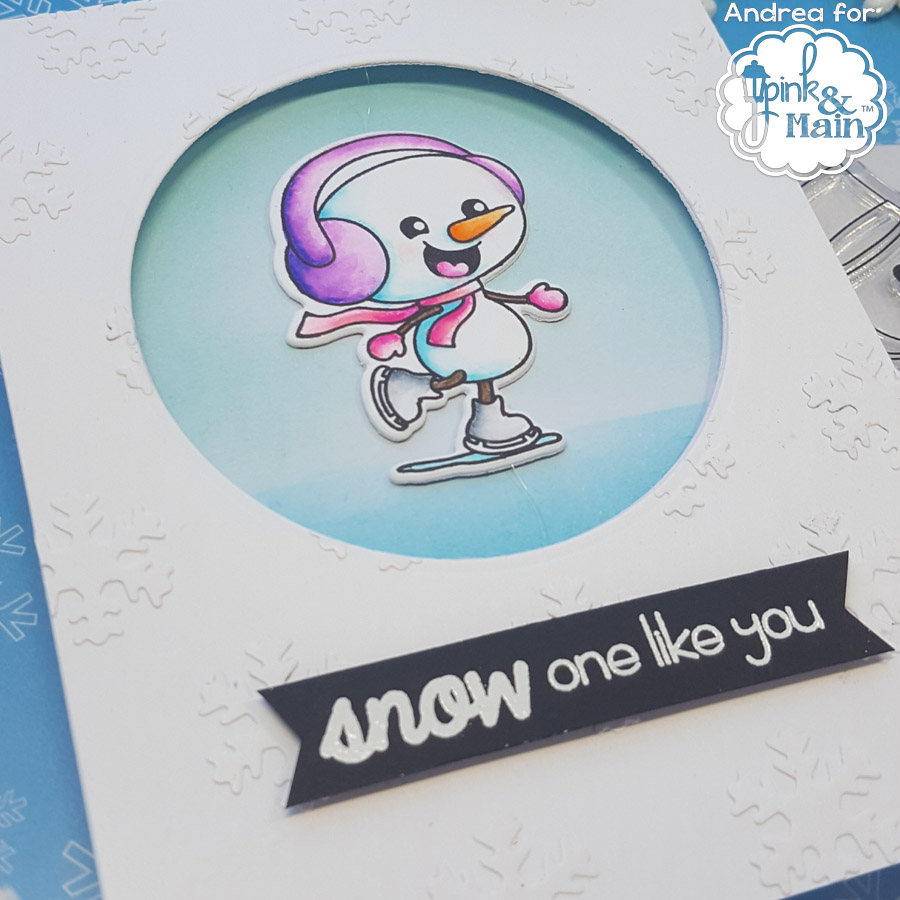
For my snowflake paper, I die-cut a bunch of snowflakes with the Winter Wreath Decor Dies and adhered them to white cardstock. I trimmed down the panel and die-cut it with the Stitched Circle Dies. I die-cut a circle in the same position from a top-folding, white card. I taped the clear thread to the front of the card and adhered the snowflake panel on top. On the inside of my card, I ink-blended with Sunny Sky and Riverwalk to create a scene for my image. I die-cut masking paper with a larger circle die and placed it over the inside of my card before ink-blending. For my sentiment I white heat-embossed a sentiment from Snow Sweet onto a strip of black cardstock. I used my scissors to cut a banner from both ends of the strip and popped it up with foam tape onto my card. The video below shows the spinner in action. Before closing the card, I twisted the snowgirl several times; when the card opens, she automatically starts spinning.
Thanks for stopping by!
Cute!
Have a great day!
Marilyn❤️
Pingback: Spinning Snowgirl – Blissfully Scrappy