Hello, Pink & Main friends and fans!
I’m super excited to return to the blog to share more of my creations with you!! My project today will be my second project for my new, fun series, Savannah Learns to Color. **NOTE: I will be the FIRST to admit the following:
- My fun, new series isn’t really a tutorial series… I can’t teach you anything about coloring! I do hope to share tips and tricks I’ve learned along the way… and possibly some of my mistakes or coloring tries! I decided to share a series to document my coloring journey. Hopefully you will enjoy the ride with me🙃
- My coloring is rudimentary- very very verrrrrrry basic! I dont’ even know what I’m doing! I just pick a few colors and try to color! LOL!
- For now, I use cheap supplies (papers, alcohol ink pens, etc). I do hope one to day be a better coloring artist that would require fancy supplies. But as I start out, what I have had in my stash for several years will do! LOL!
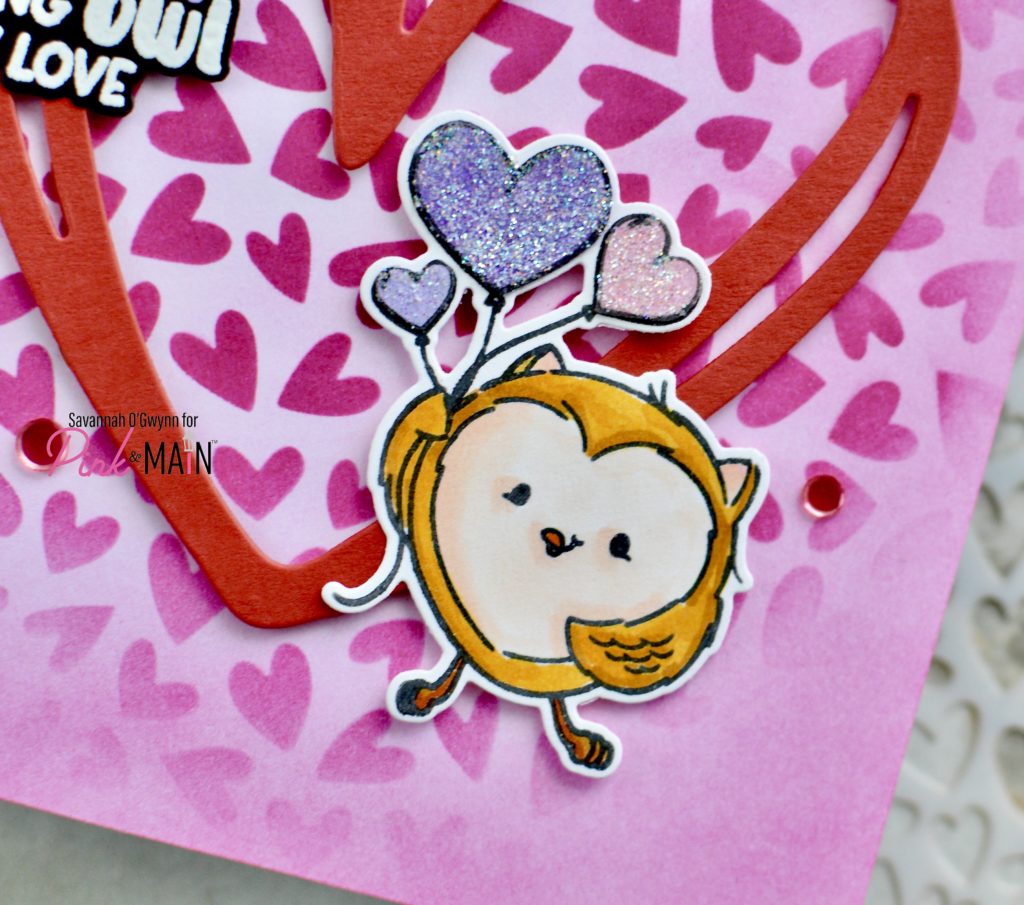
Let’s continue this series with today’s coloring project– I’m using the sweetest little owl from the P&M Owl My Love set.

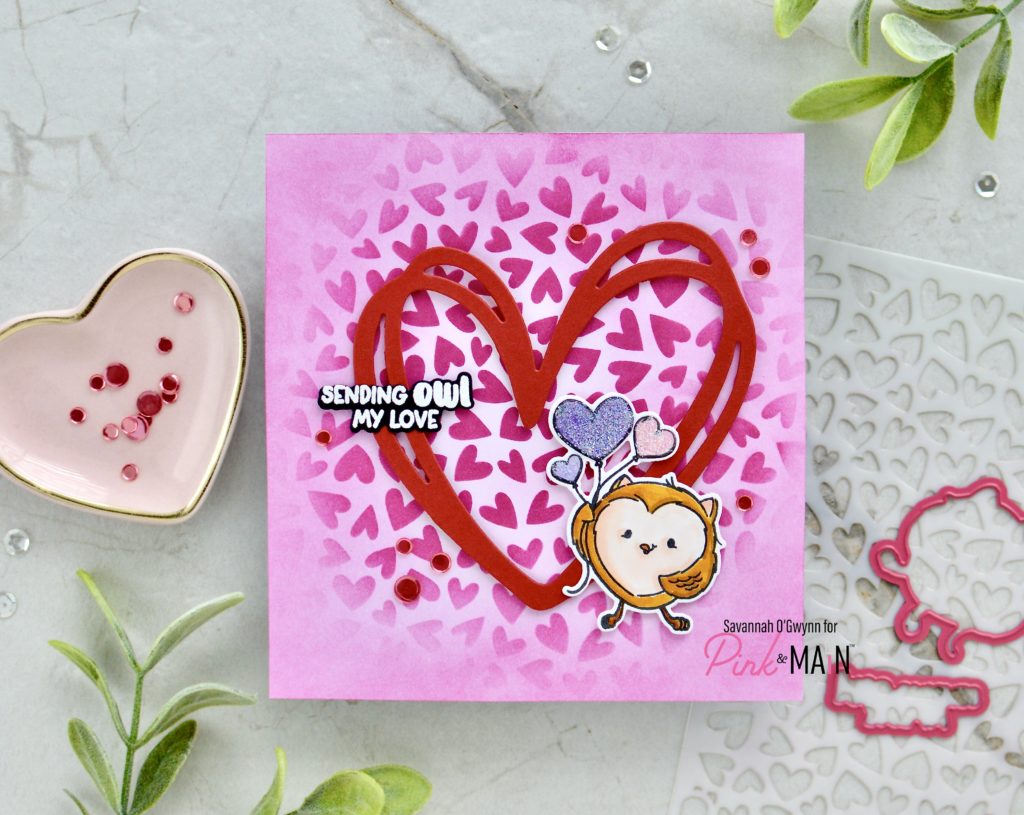
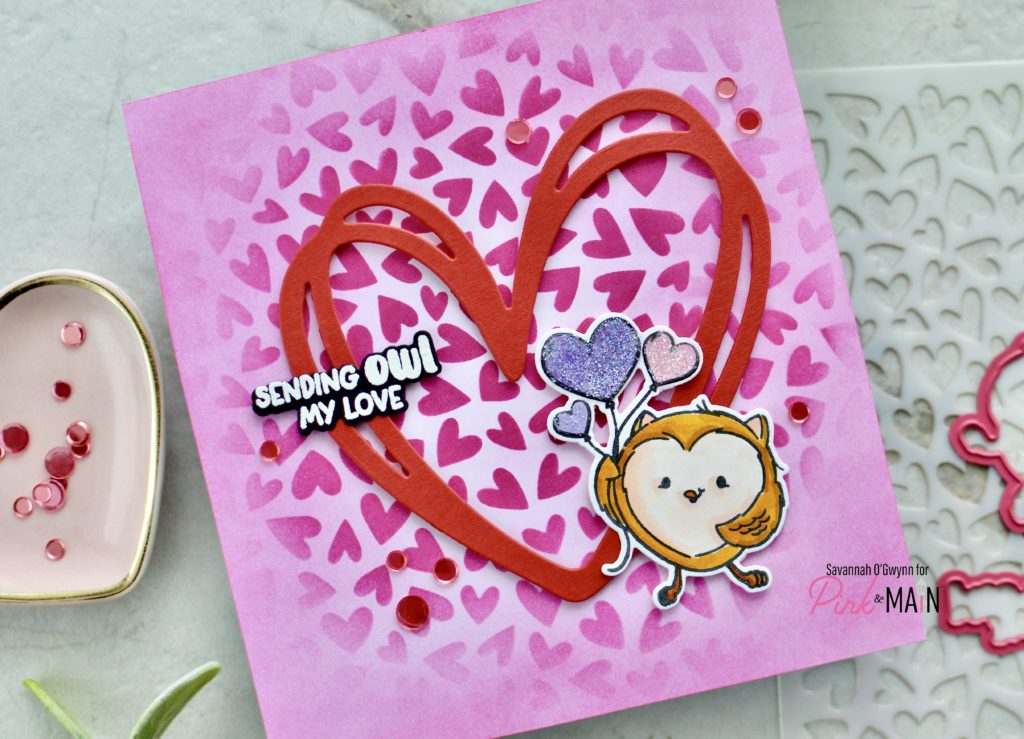
Here’s how I made this card:
- Create faded background using Hearts A Plenty stencil, Salon paper, and Dress Shop ink; cut to size and add to card base
- Die cut Doodled Heart die from Stop Sign paper and attach to card base
- Emboss and die cut sentiment (from the same Owl My Love set) and add to card base
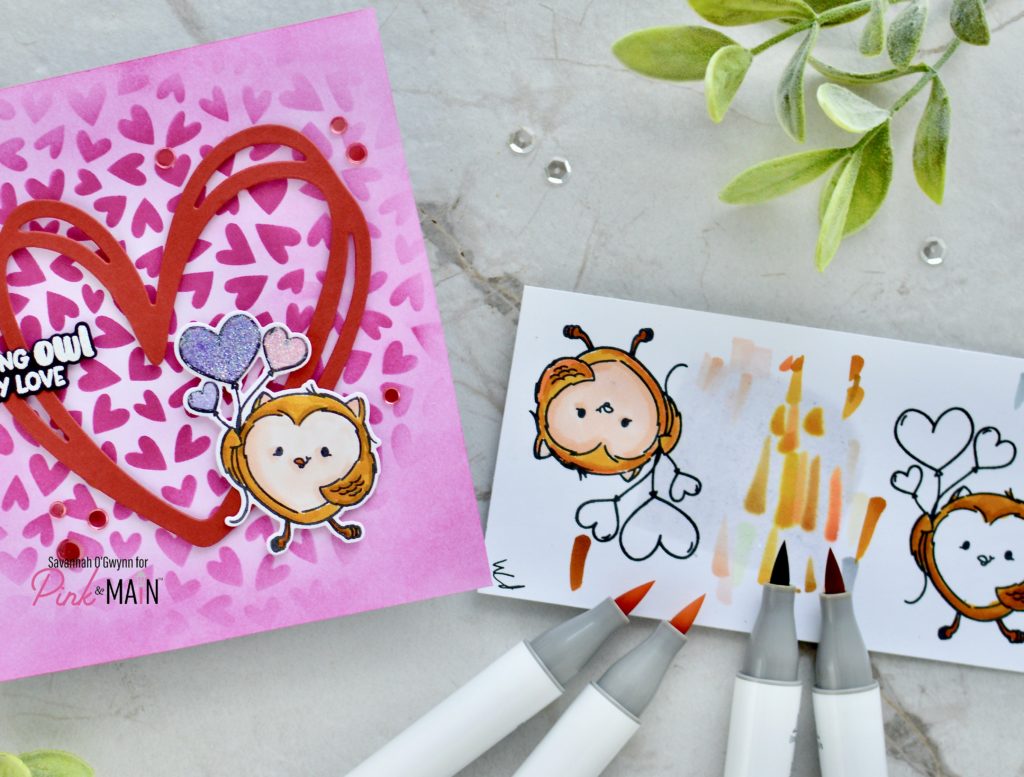
- Stamp owl image, color, die cut it, and attach to card base **NOTE: I tried coloring this image three times before I learned a good coloring combo for yellow-brown. You can see my mistakes and different tries in the photo below. I wasn’t a fan of the darker brown owl… then I used a neon orange instead of a light orange brown for the wing, plus the face was too pink! LOL! I really like how the final owl turned out. He’s too cute:)

- Stamp the balloon images on Night Sky, Evening Clouds, and Salon paper, fussy cut them out, and attach to image
- Add Touch of Gloss to the balloons and add Ice Rink super fine glitter
- Finish the card by adding a few Rainbow Crystal Confetti pieces

OVERALL: I learned that I should swipe the marker on scrap paper prior to trying to color an image. This will help me figure out a good combo of colors for each image. I also found that three colors works best for highlighting and blending. **NOTE: To be really honest, I feel kind of embarrassed to share my colored projects with you! This team has such a talented group of designers that are already coloring enthusiast!! Despite these feelings, I’m going to continue to share so I can document my journey. I hope that by sharing my journey I will inspire and encourage you to do the same– don’t give up and continue to try!!!
THANKS so much for stopping by! I’ll be sharing MORE of my colored images SOON!!!
Hugs ❤️ Savannah
