
Hi everyone~ it’s Michelle here. I have a simple card set to share with you today. The technique I used was using simple stencils to ink frames – both negative and positive – to highlight some stamped images.
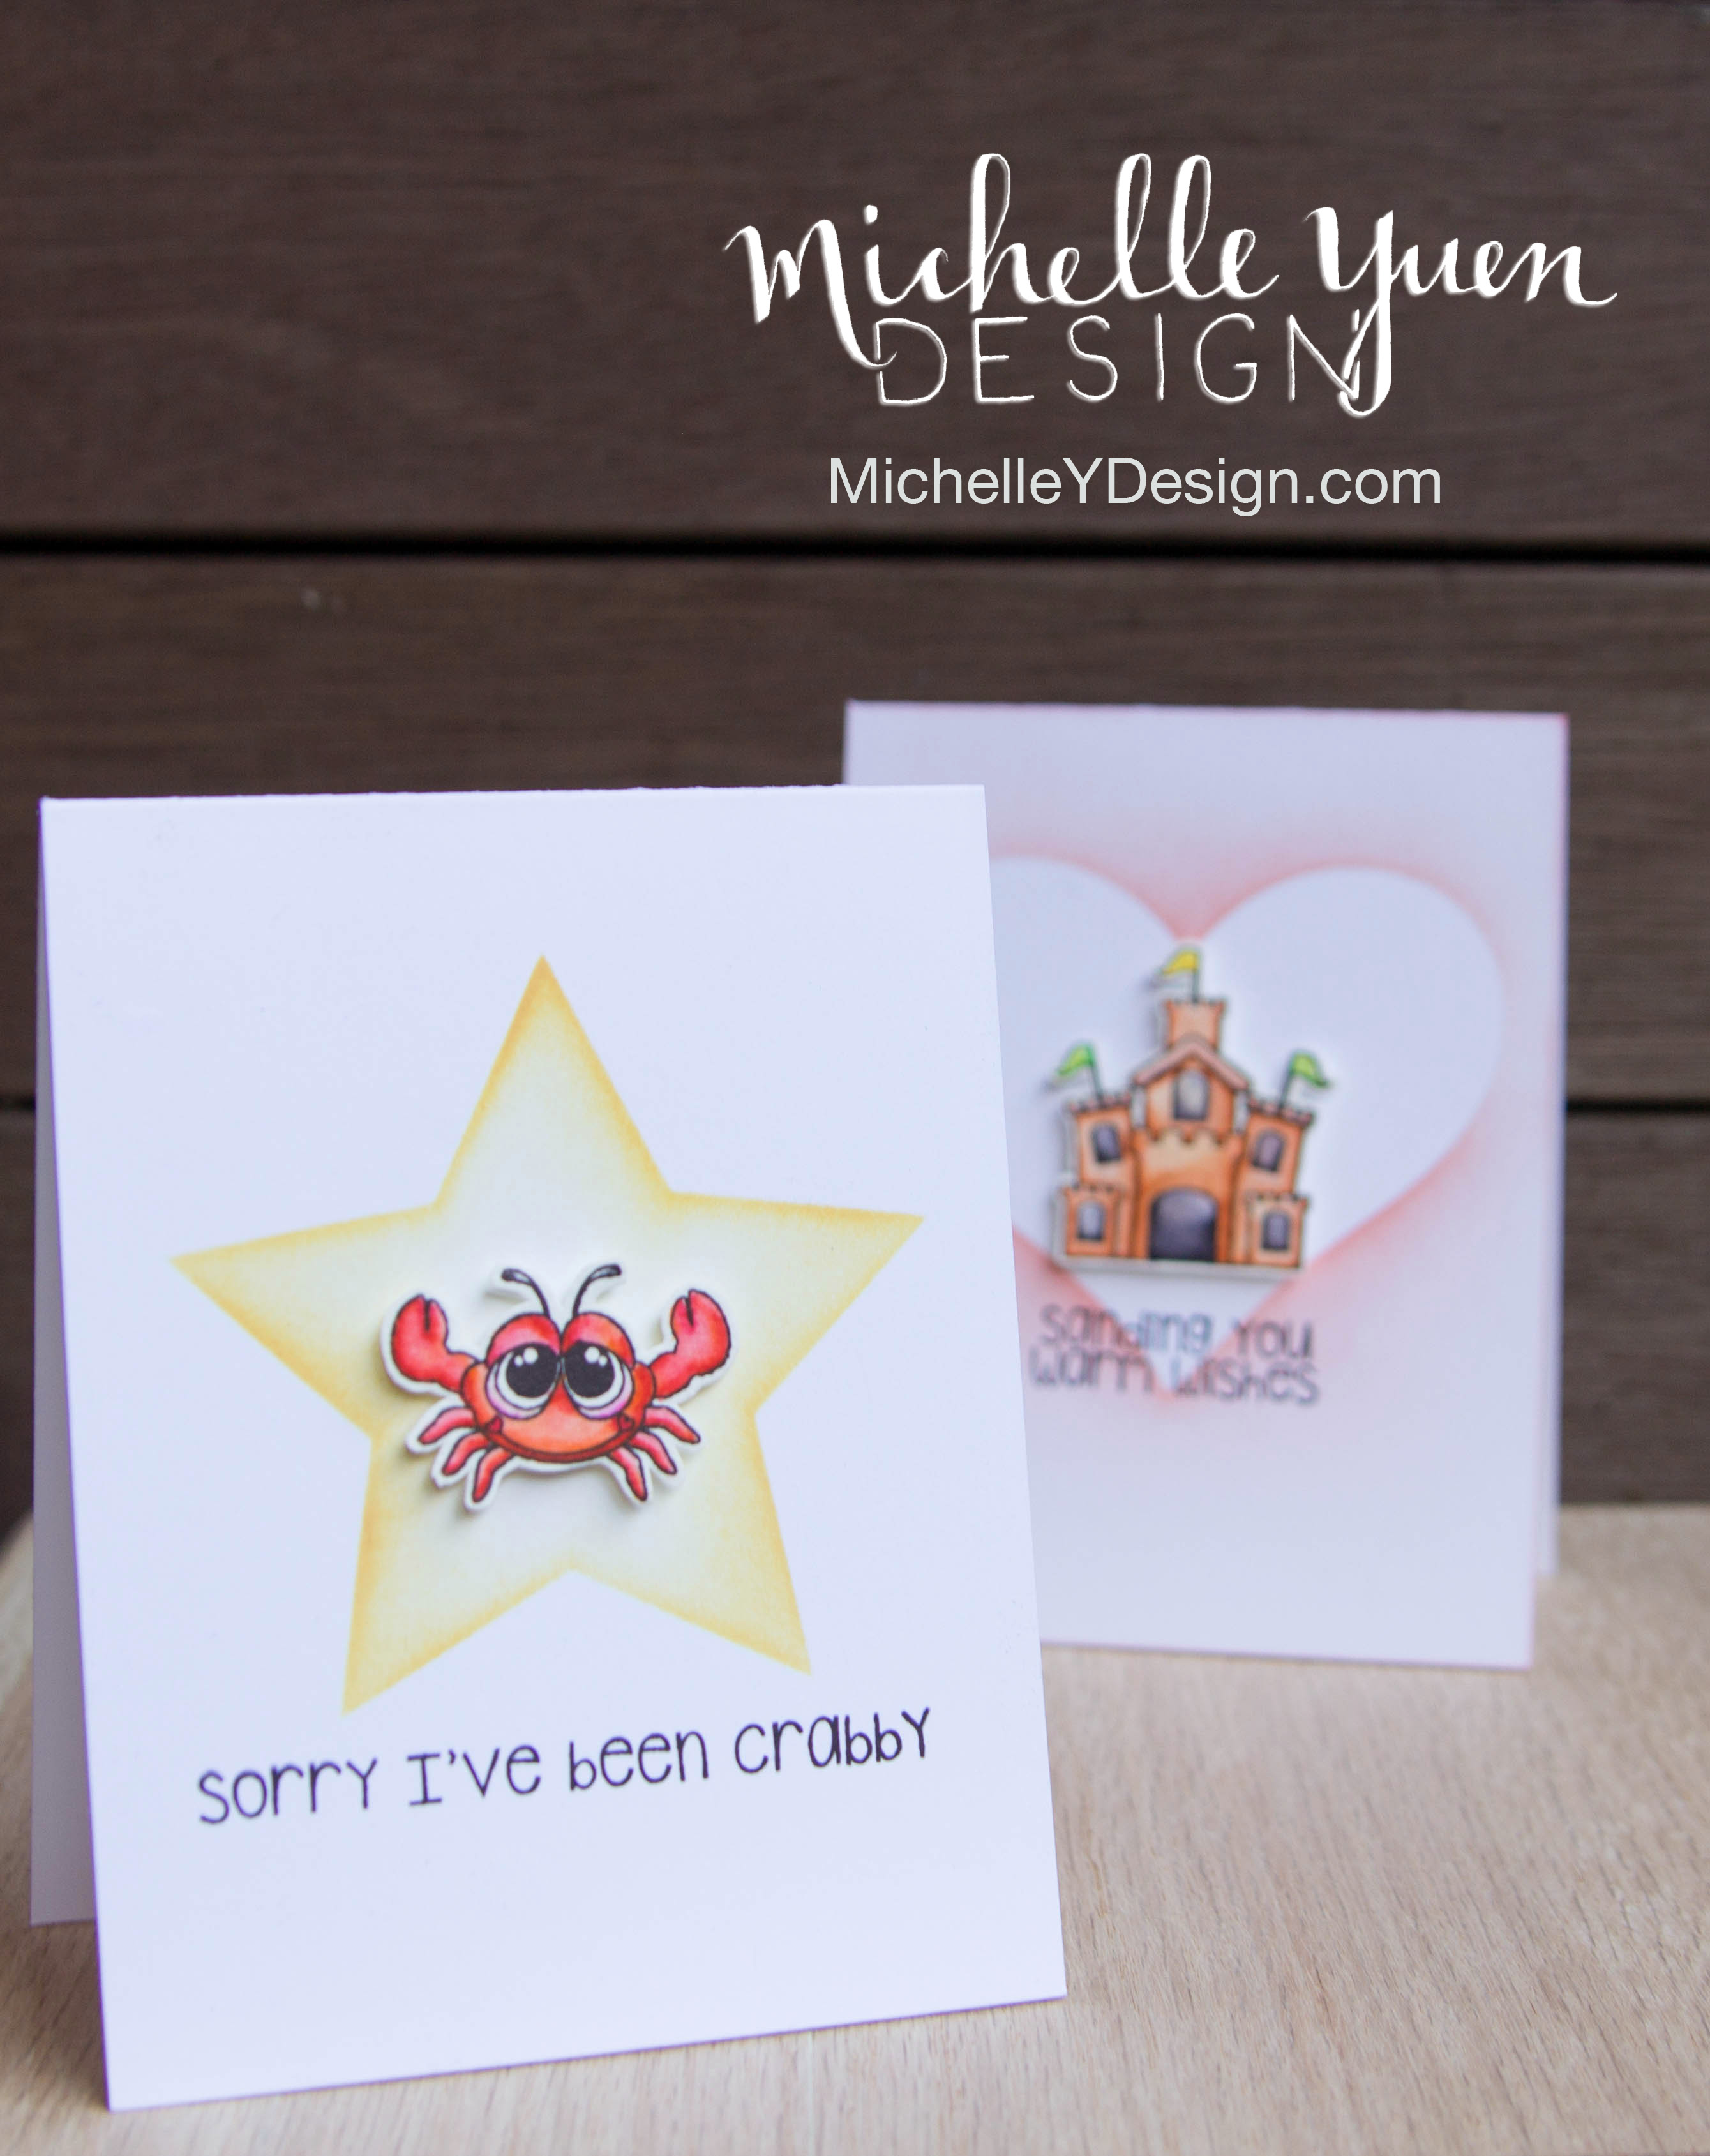
The images I used were from the Hello Sunshine and Sunkissed Greetings sets from Pink and Main’s July release. I love that they are summer themed and cute! Also – they are the perfect images to practice more coloring with my new Zig Clean Color Markers – which I am LOVING. The watercolor look is perfect for these beachy images.
As you can see, I used really simple shapes for my stencils – a star and a heart. You could make your own stencil by die cutting (or even hand cutting if you have some awesome skills!) these shapes out of paper, but I like to go a step further and make durable stencils out of acetate so that I can use them over and over again. (You can find a tutorial that I’ve posted in the past here.)
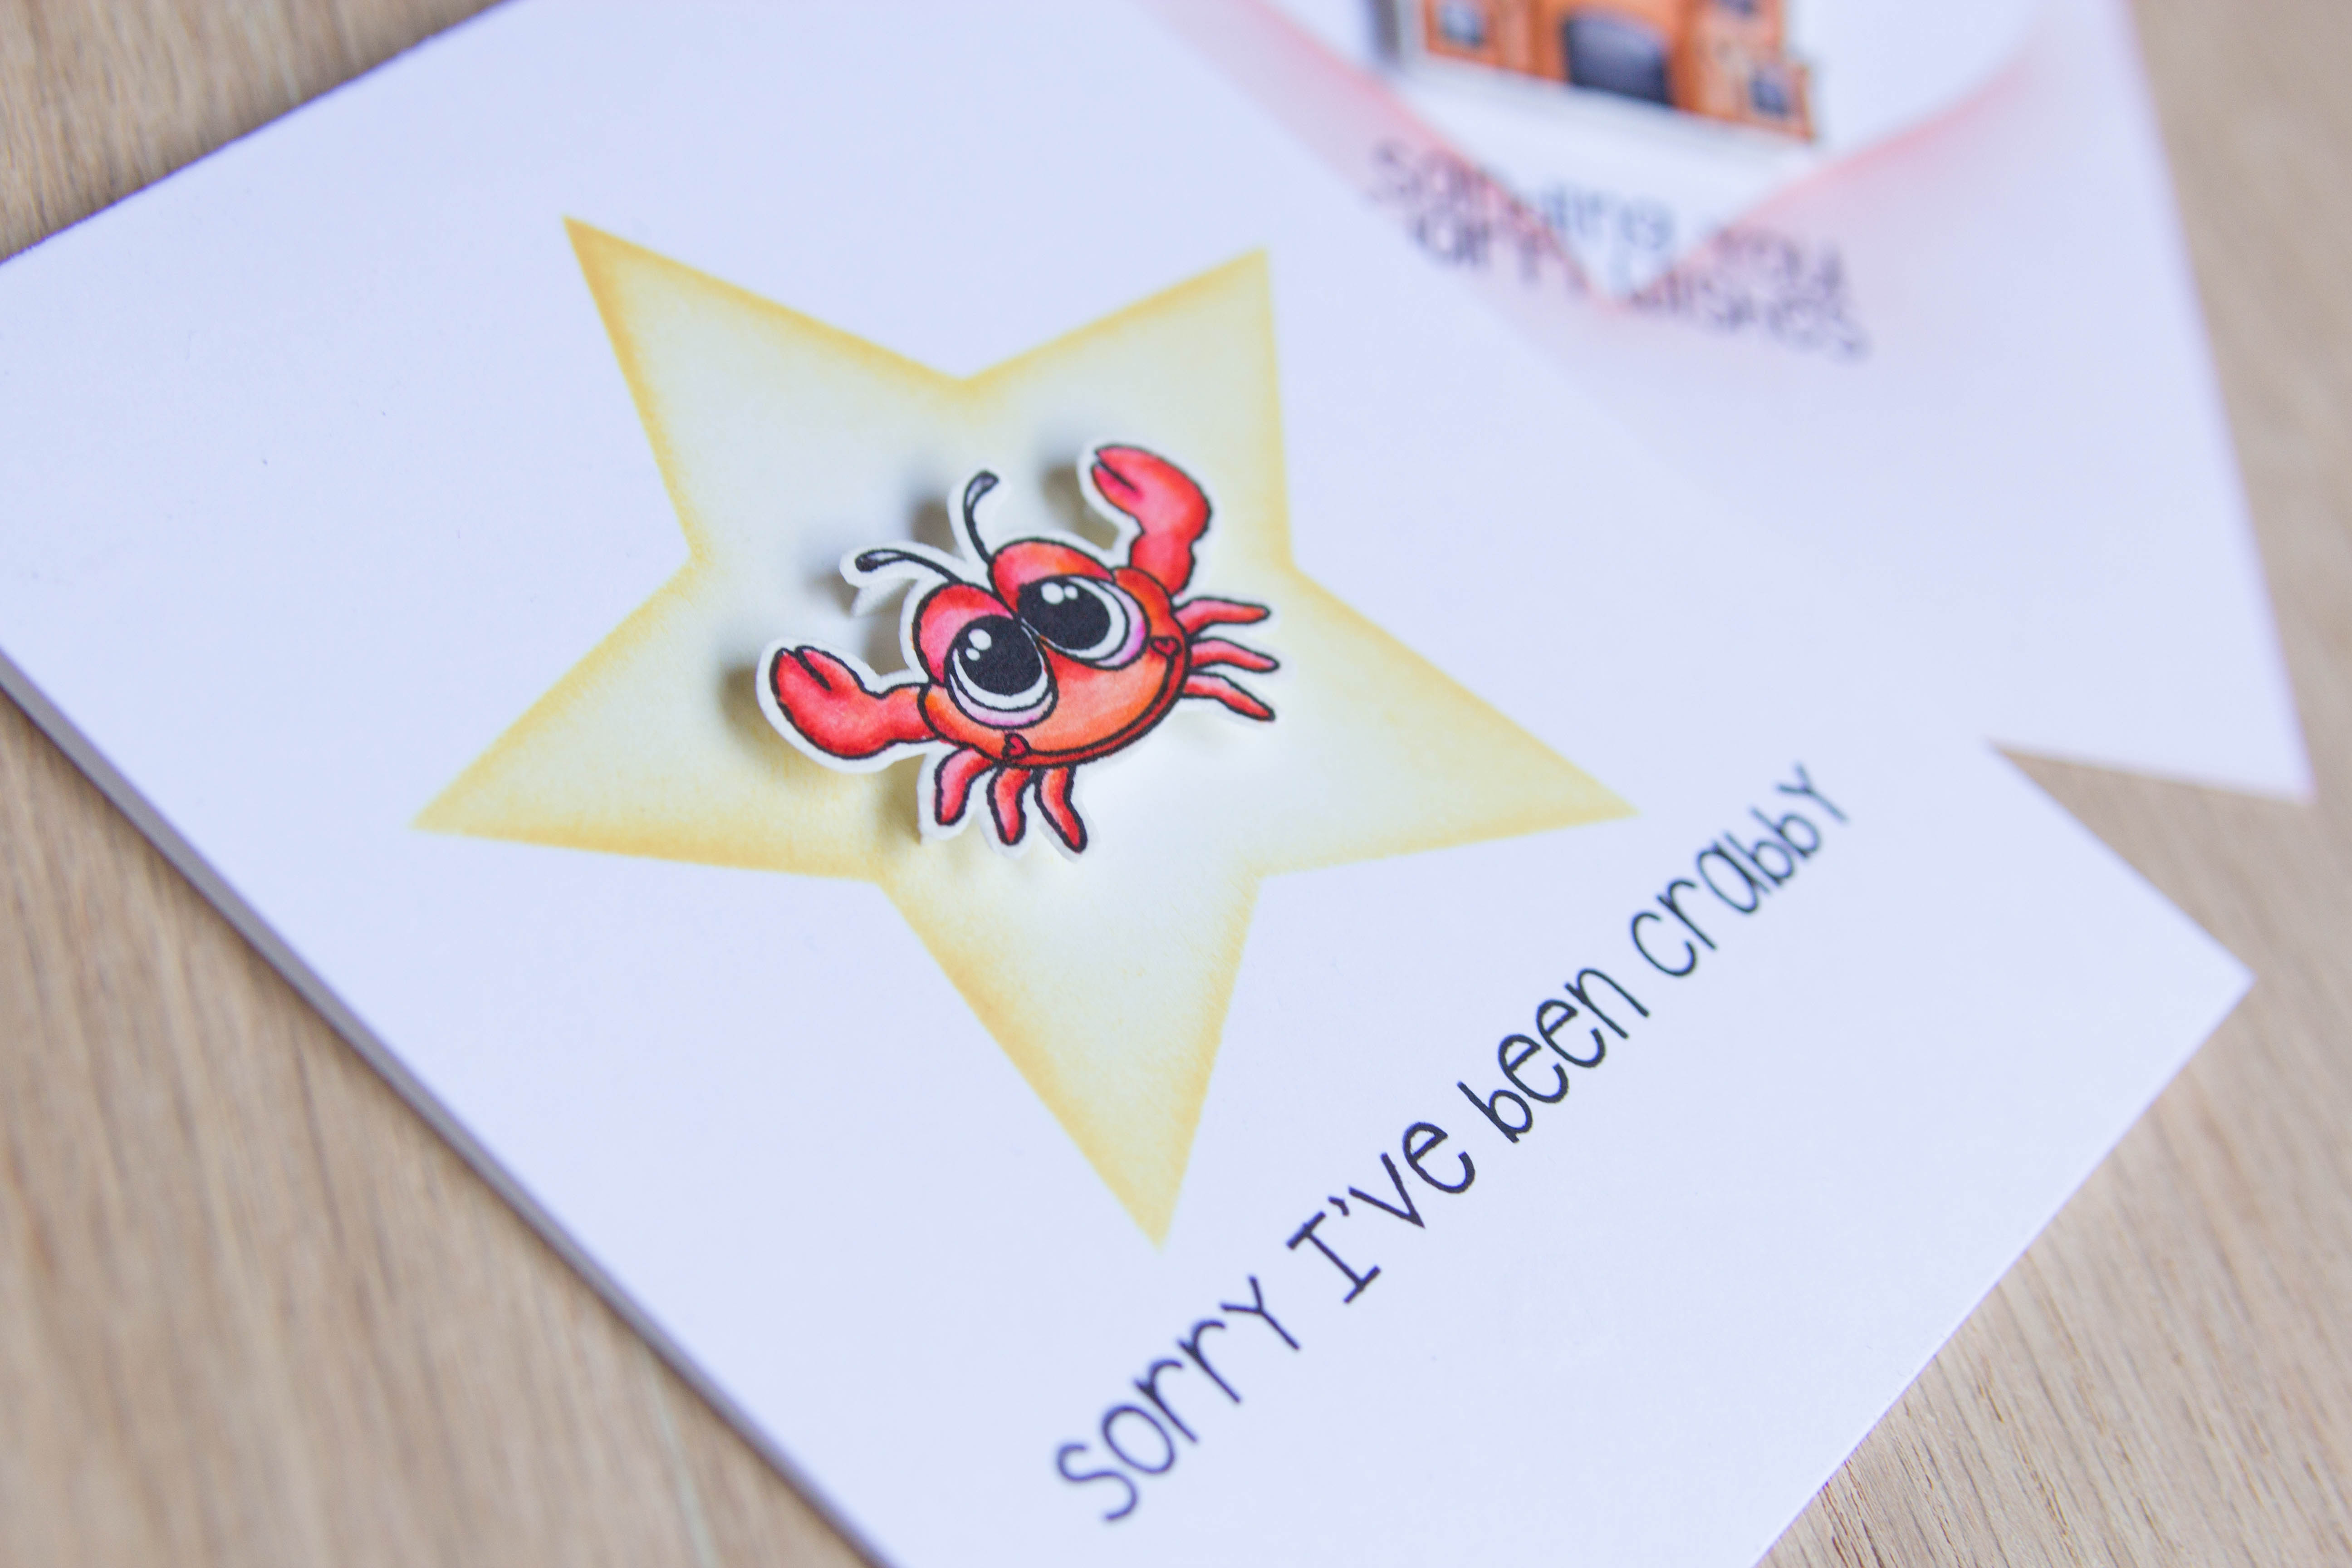
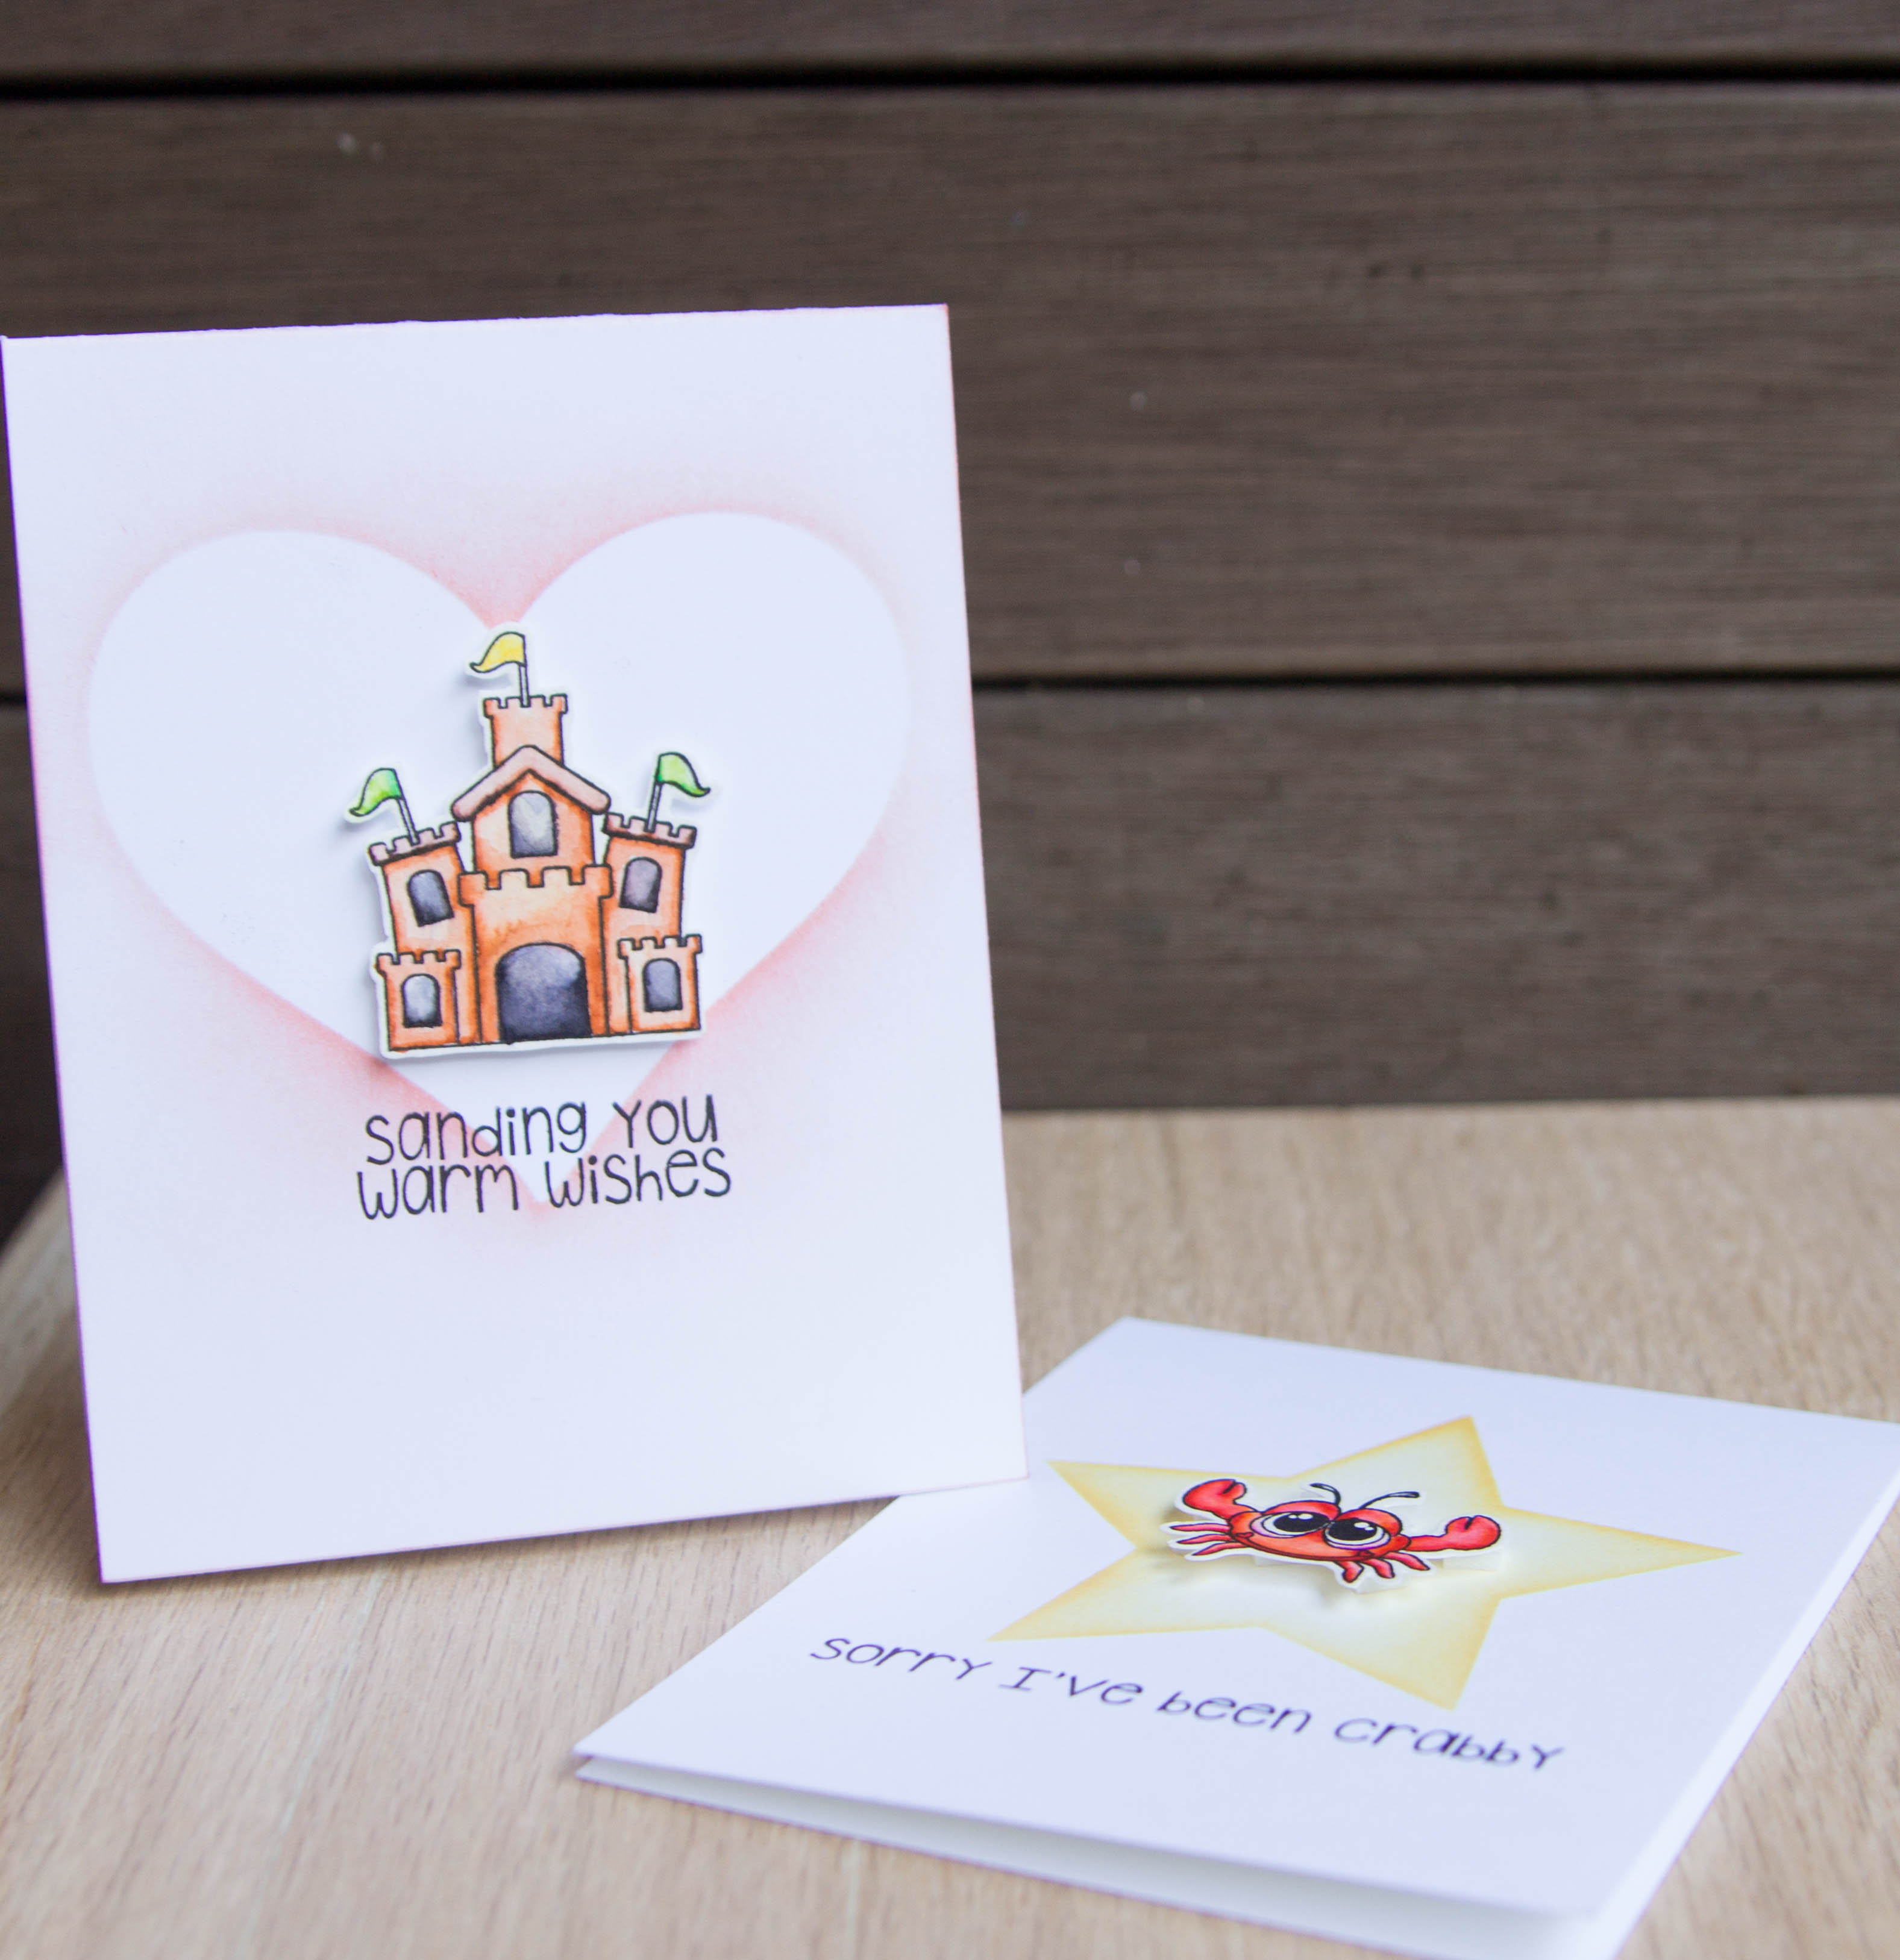
For one of the cards, I used the positive of the stencil, and inked it with Distress Ink. This means that the shape is filled in to make a background for the image.
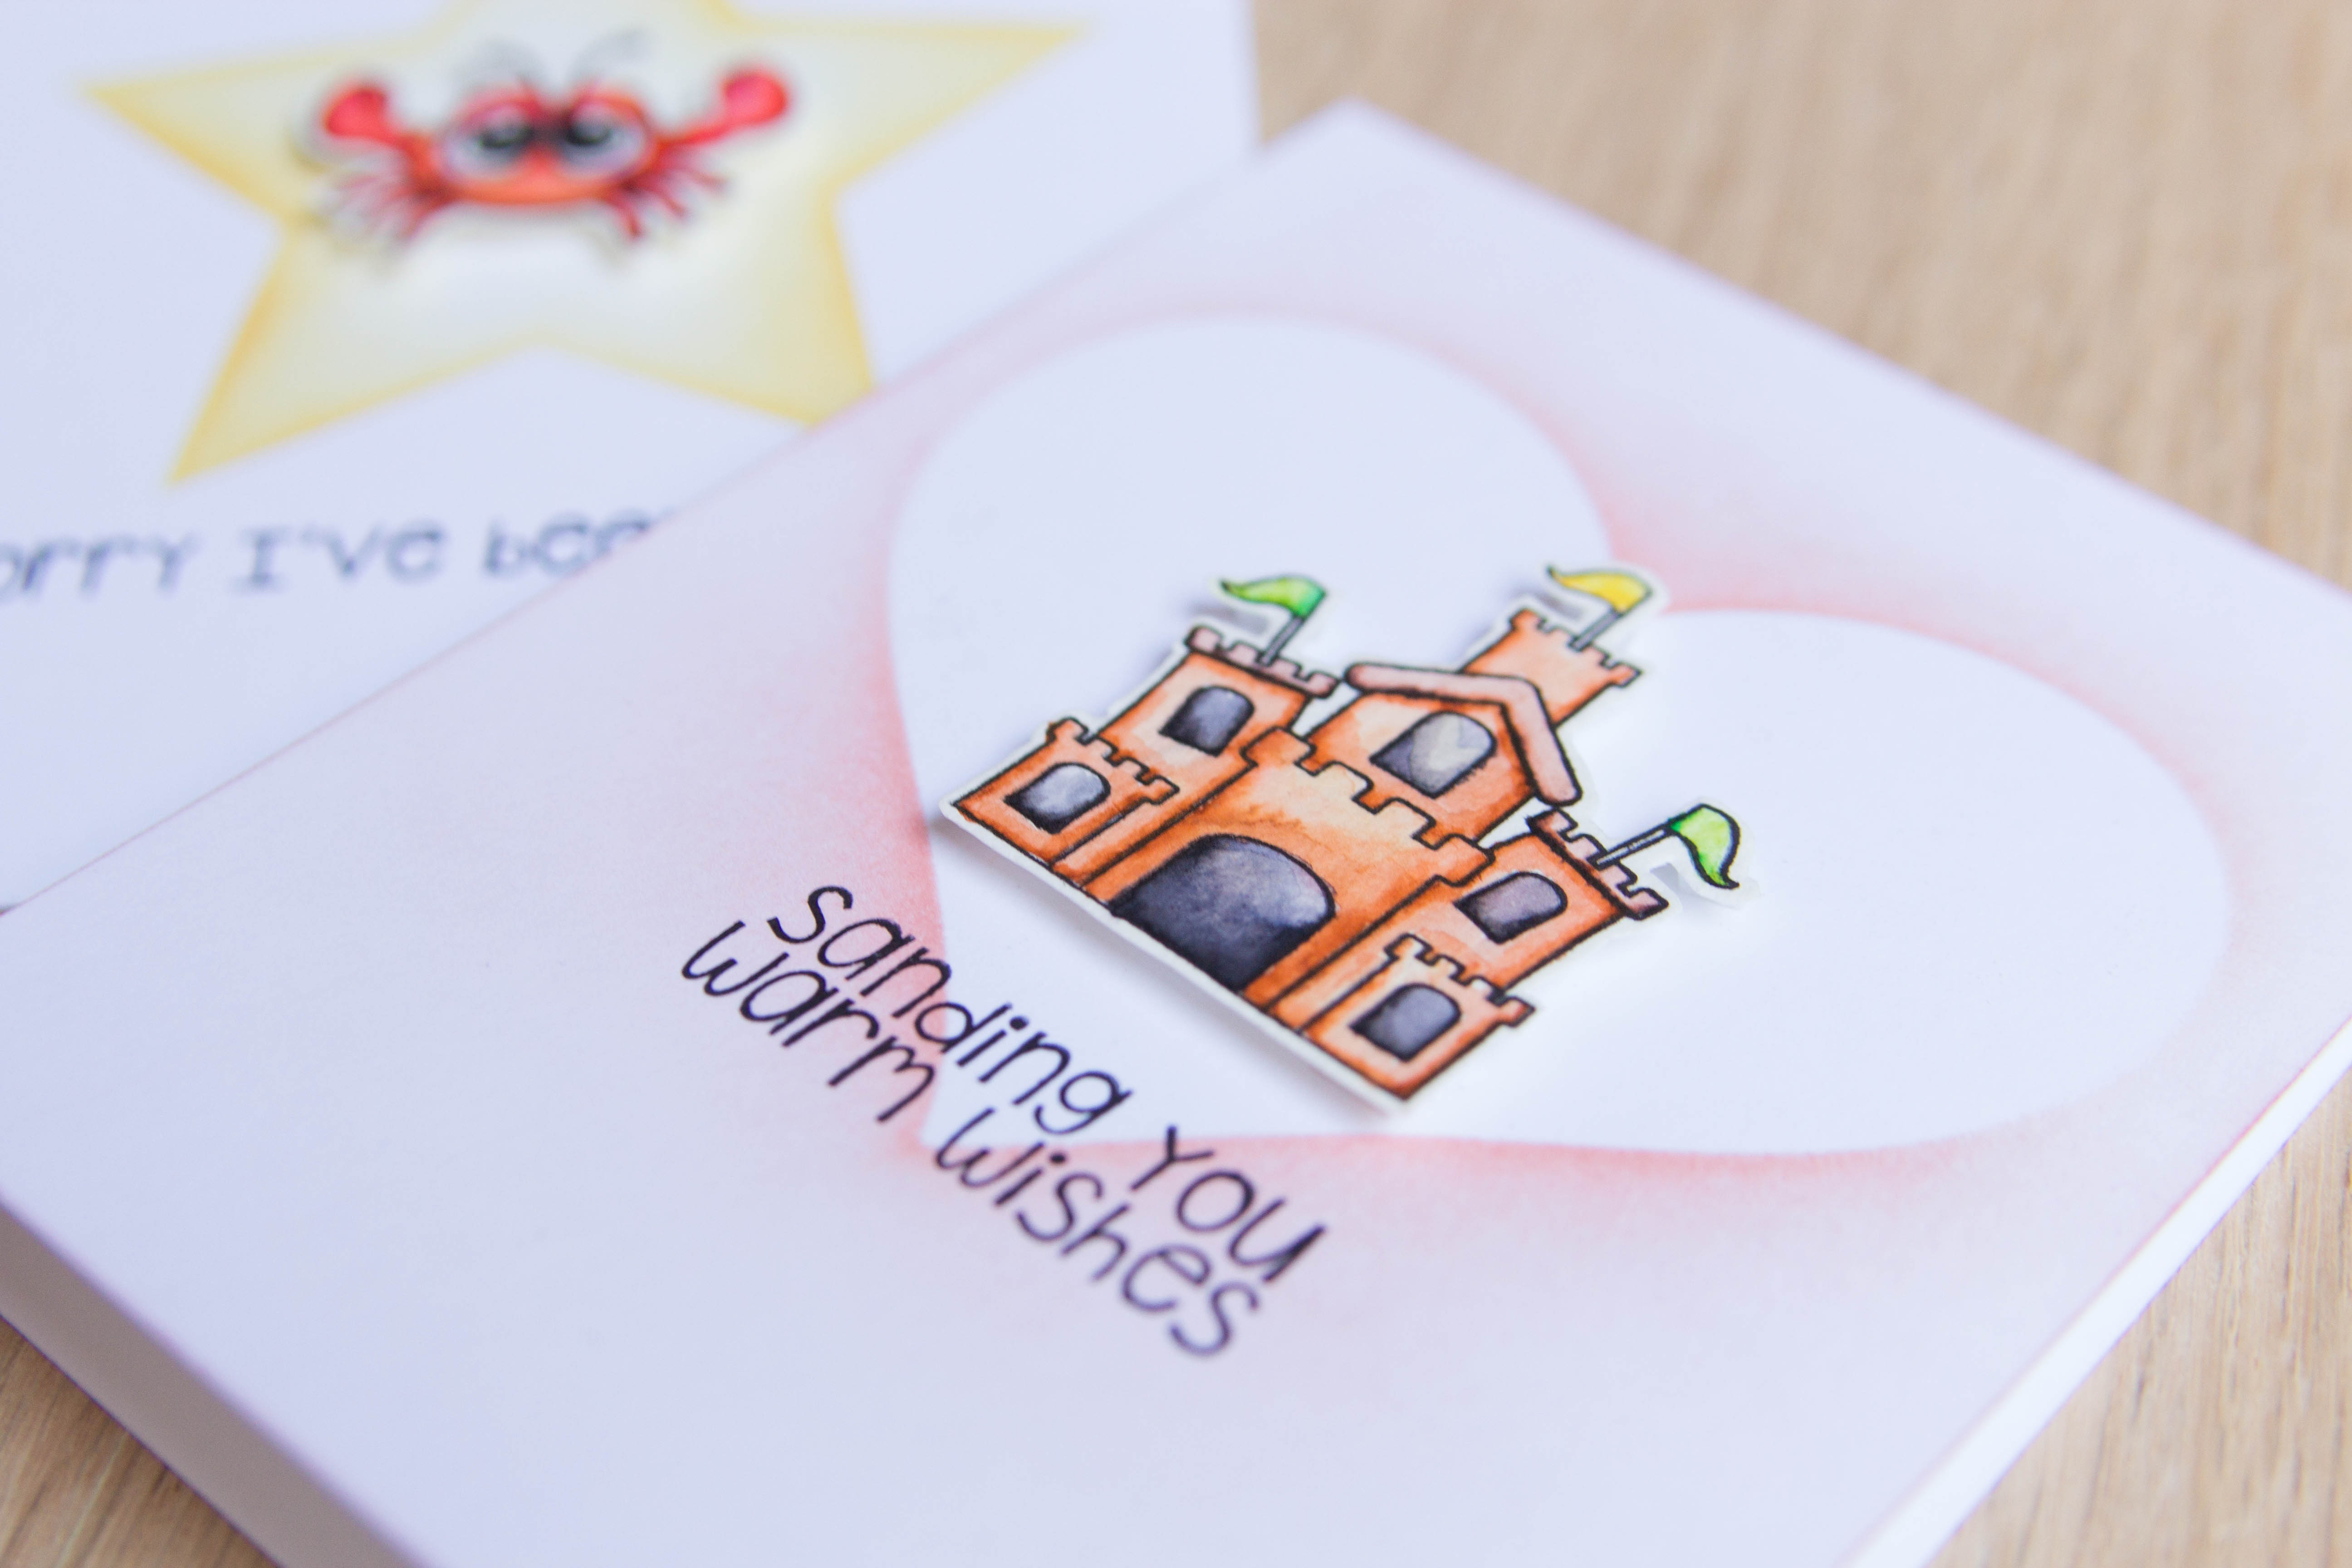
Then for the other image, I used the negative of the stencil, which makes a really neat frame for your image to live inside of. It is such a fast and easy way to give a little more color and detail to a simple card!
If you’ve got some stencils, try making some inked frames you highlight YOUR stamped images!
Michelle, these cards are adorable! Love how you colored those cute I ages and the sponged shapes look awesome! Thanks for the inspiration! It was great to meet you tonight!